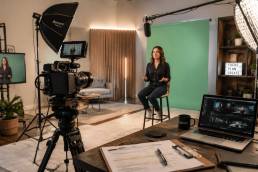

Master Your Video Studio Lighting Setup: Pro Guide 2026
 July 13, 202625 Minutes
Meta description: Build a polished video studio lighting setup for podcasts, interviews, reels, and studio shoots with practical tips and pro workflow advice.
URL slug: /video-studio-lighting-setup
Primary keyword: video studio lighting setup
Secondary keywords: podcast studio lighting, three-point lighting setup, interview lighting setup
A lot of creators are sitting in the same spot right now. The camera is decent. The mic is solid. The script is strong. But the footage still looks flatter, harsher, or cheaper than it should.
That gap usually isn't talent. It isn't even the camera. It's lighting.
A polished video studio lighting setup changes how people read your brand before you say a word. It makes skin tones look healthy, gives your frame depth, and turns a basic talking-head clip into something that feels intentional. If you're recording podcasts, branded interviews, reels, or short-form cutdowns in New Jersey, this is one of the biggest quality levers you can pull. It's also one of the places a purpose-built studio environment can save you from endless trial and error.
The Unspoken Barrier to Pro Content Quality
A founder records a sharp, useful episode in a home office. The ideas are strong. The guest is good. The clips should work. Then playback starts and the problems jump out immediately. One side of the face disappears into shadow, the overhead light turns skin slightly off, and the background feels dead. Nothing is technically broken, but nothing feels premium either.
That kind of mismatch costs more than aesthetics. Viewers make fast judgments about professionalism, trust, and attention to detail. When lighting looks unstable or unflattering, the content has to work harder to earn attention. For podcasters and entrepreneurs, that means the brand message arrives wearing the wrong outfit.
The frustration gets worse because the fix seems deceptively simple. Most creators assume they just need a brighter light. In practice, they need shape, balance, and control. That's why lighting is usually the hidden line between "good enough" and "I'd confidently send this to a sponsor, client, or investor."
Poor lighting doesn't just flatten your image. It flattens your authority.
Creators who start studying mastering professional video results usually realize the same thing fast. Better content quality is rarely one magic upgrade. It's a system, and lighting is near the center of it.
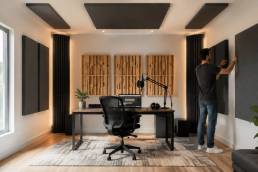
In a real studio, light works with the room, not against it. Reflections, wall color, ceiling height, and sound treatment all affect the final image. That's one reason acoustics and visuals should be planned together, especially if you're recording long-form conversations in a dedicated set. If you're building your own environment, Flexwork's guide on how to soundproof a room gives useful context on why the room itself shapes the production result.
Mastering the Language of Light
Lighting sounds technical until you see what each choice does on camera. Then it becomes simple. You're deciding where attention goes, how flattering the face looks, and whether the frame feels flat or dimensional.
The foundation is still the classic setup professionals rely on because it works.
The three lights that make most shots look professional
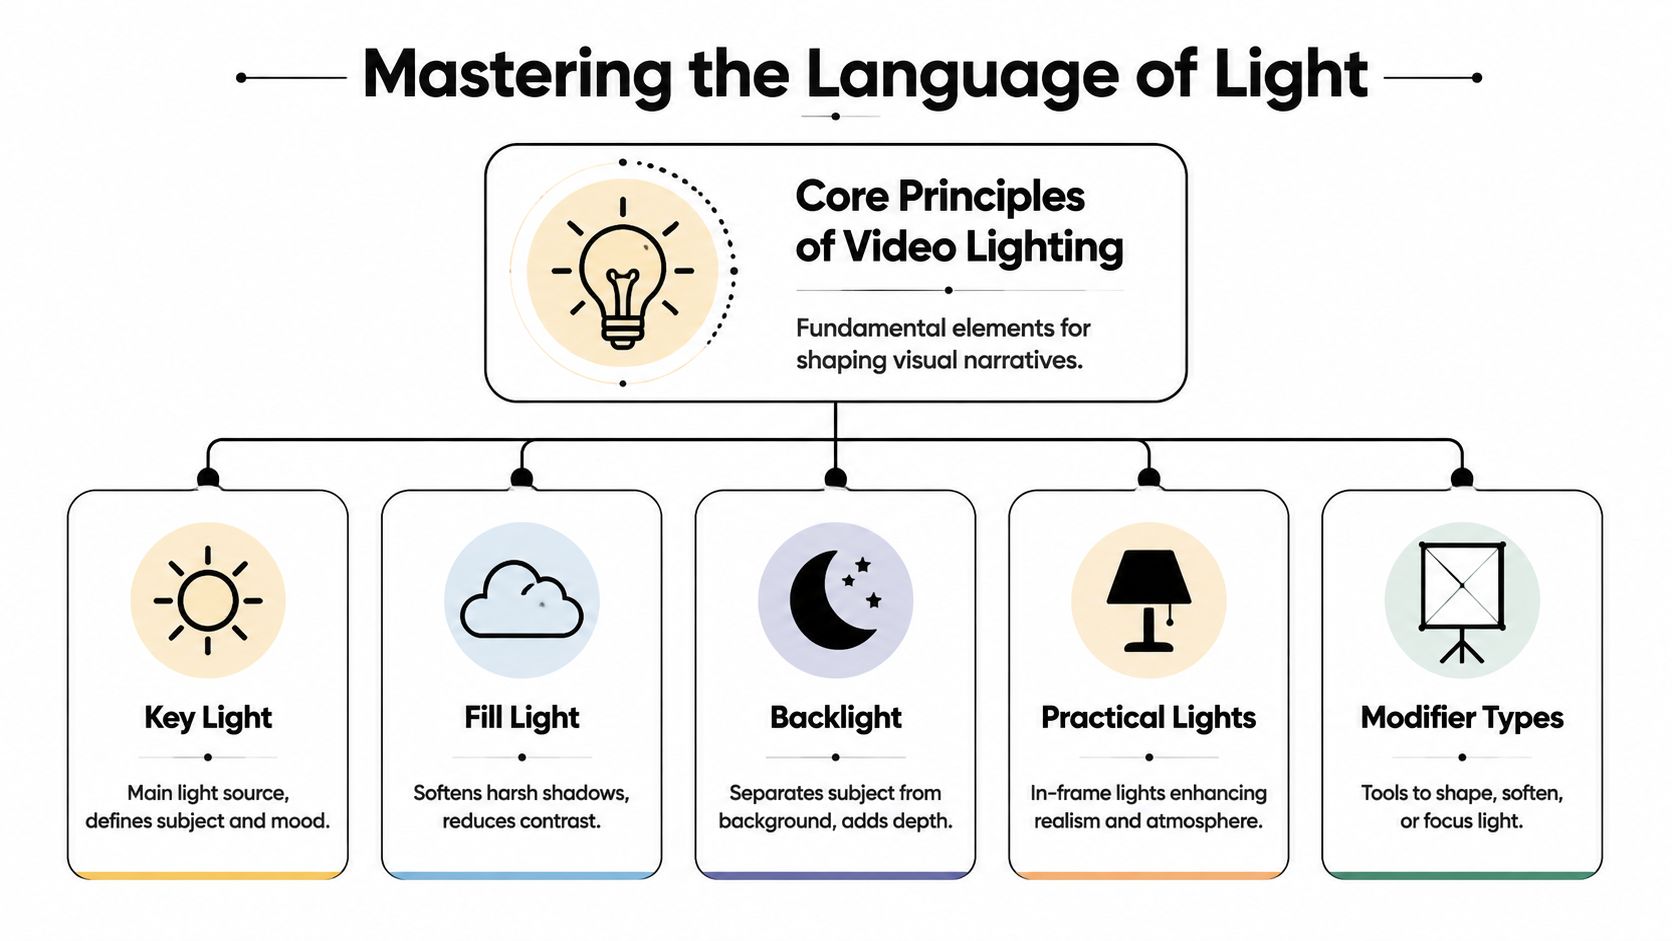
The foundational standard for professional lighting is three-point lighting. The key light sits at the 4:00 position relative to the camera at 6:00. The fill light sits at 8:00. The backlight lands between 1:00 and 2:00. The fill should be set to exactly half the intensity of the key light, which creates shape without letting shadows get muddy, according to Atlassian's breakdown of lighting for video.
Each one does the following:
- Key light gives the face its main shape. This is your hero light.
- Fill light opens up the dark side of the face so the shot still feels clean.
- Backlight separates the subject from the background, which is what makes the image feel more expensive.
If you're trying to learn by eye, not just by specs, it helps to browse examples of how mood changes with placement and softness. A visual library like Storyshort's collection can help you Discover light video styles without getting buried in jargon.
Practical rule: If your frame looks harsh, don't assume you need less light. You may need a larger, softer source.
Color temperature and why skin tone goes wrong
A lot of "something looks off" footage comes down to mixed color temperature. One light is cool, another is warm, and the camera is trying to make sense of both at once.
A neutral to cool white light source in the 3,500K to 6,500K range is the standard, with 5,000K identified as the daylight target in the same Atlassian guidance. The main point is simple. Pick one lighting family and stay consistent. Don't mix random household bulbs, window light, and LED panels unless you're intentionally styling the frame.
A fast way to think about Kelvin:
| Setting | What it tends to feel like | Common result |
|---|---|---|
| Lower Kelvin within the usable range | Warmer, cozier | Can look inviting, but easier to misread skin tone if mixed badly |
| Around daylight target | Neutral and natural | Usually easiest to balance across cameras and fixtures |
| Higher Kelvin within the usable range | Cooler and cleaner | Good for modern sets if kept consistent |
CRI and the difference between bright and flattering
Brightness alone doesn't make footage look good. Color quality matters. Modern fixtures generally aim for CRI 70 or higher, which is the baseline Atlassian notes for rendering skin tones and product colors accurately.
That matters more than most beginners realize. A cheap light can be bright and still make someone look tired, uneven, or strangely green on camera. A better fixture gives you light that reproduces tone more accurately.
For creators designing a permanent space, this is also why set planning matters. The walls, furniture, and surfaces around the subject all interact with your lighting choices. If you want your visual identity to look considered from the start, Flexwork's ideas on podcast studio design are useful because they connect lighting decisions to the way the full set reads on camera.
Your Toolkit Building the Ideal Lighting Rig
Buying lights is where creators often waste money. They buy for wattage labels, social hype, or whatever shows up first in a "best gear" video. A smarter approach is to buy for use case. What are you filming most often, how fast do you need to set up, and how much control do you need?
Good, better, and built for scale
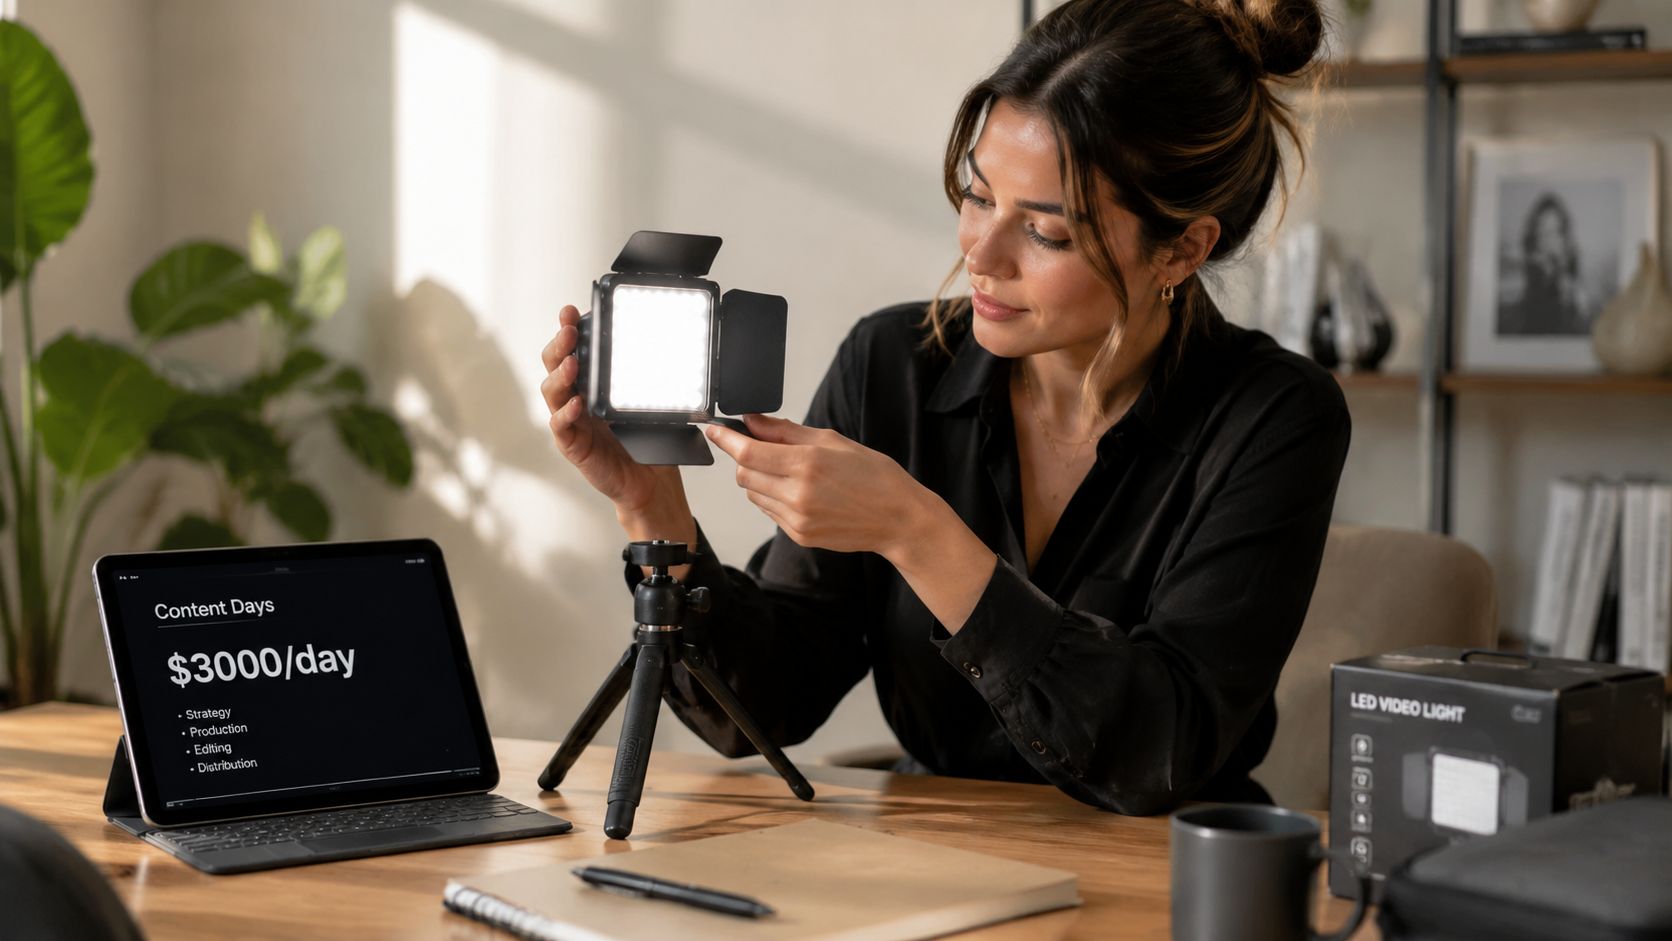
The most useful baseline for a working key light is straightforward. A 300-watt light paired with a 5-foot softbox is a recognized standard for a budget-conscious professional key source, while fill lights are often around 60 watts, based on the workflow details discussed in this videography lighting thread.
That doesn't mean everyone should start there.
Good for the scrappy starter
If you're filming simple talking-head clips and want to stop looking underlit, an entry-level professional LED can be found for around $70 in the same videography discussion above. That tier works when:
- You record in one corner consistently and can keep the setup mostly intact.
- You use window light carefully instead of fighting it all day.
- You add diffusion or bounce so the light doesn't carve hard edges into the face.
The trade-off is control. Small fixtures are convenient, but they get harsher faster and struggle when you widen the frame.
Better for the creator building a brand
A larger key light proves especially beneficial. A stronger fixture through a softbox gives you a forgiving source that works for podcasts, courses, interviews, and social cutdowns.
What improves at this tier:
- Consistency across shoot days
- Flexibility for wider framing
- Smoother skin rendering because the source is larger and softer
This is also the moment to care about stands, diffusion, and flags. The modifier often matters as much as the light itself.
Bigger soft light usually beats smaller bright light.
Best for a repeatable studio workflow
Once you're shooting interviews, multiple angles, or branded series, you want a kit instead of a single hero fixture. That means a reliable key, controlled fill, background separation, and optional accent lights. More advanced gradient light tubes for background effects start around $180, which makes them a practical next step if you want more visual depth without rebuilding the whole rig.
The gear decisions that actually affect the frame
A short comparison makes the trade-offs clearer:
| Tool | What it improves | What to watch for |
|---|---|---|
| Softbox | Softer facial light, more flattering wrap | Needs room to position properly |
| Diffusion panel | Natural, broad softness | Can eat output from your fixture |
| Reflector | Cheap way to lift shadows | Less precise than a dedicated fill |
| Tube light | Background shape and style | Easy to overdo and make the set look trendy instead of timeless |
Creators also underestimate portability. The rig you hate setting up won't get used. If you want a practical checklist for choosing tools across formats, Flexwork's guide to the best tools for content creators is a good companion to lighting decisions because it treats gear as workflow, not just shopping.
The Flexwork Solution Beyond DIY
DIY lighting has a hidden tax. It isn't just the cost of fixtures. It's the time spent testing shadows, moving stands out of frame, rebalancing for a guest with glasses, and trying to convert the same room from long-form podcast mode into vertical reels mode before the next meeting starts.
That tax adds up fast for people producing content at volume. The more often you shoot, the less attractive constant setup and teardown becomes.
What renting a finished environment solves
A purpose-built studio removes several problems at once:
- The room is already controlled so you're not battling ceiling lights, wall color, and random reflections.
- The visual system is repeatable which matters if you're publishing a series and want every episode to feel like part of one brand.
- The production day moves faster because the lights, cameras, audio, and set are working together.
For creators in the NJ and NY orbit, one option is Flexwork Podcast Studios, which offers turnkey studio access in an acoustically treated environment built for podcasts and video sessions.
Where packages make more sense than gear ownership
Owning lights can be smart if production is your daily operating system. But many founders, hosts, and marketing teams don't need another equipment stack. They need output.
That's where service structure matters more than hardware:
- Hourly studio rentals work when you want speed and a polished environment without committing to a full production department.
- Producer-led support, including options like the "Be My Podcast Producer" package, makes sense when you'd rather stay focused on hosting, guest chemistry, and content strategy.
- Content Day sessions are built for batching. They cost $3000/day and include 20 edited reels or 60 pro photos.
- Podcast websites are $5000 plus hosting, which is useful when the show needs a real home base instead of scattered links.
- Market, Manage & Produce My Podcast starts at $1500 per episode with a 20-episode growth commitment.

Those numbers matter less as line items than as a business decision. If your team is losing time every shoot day to technical friction, paying for a finished system can be the cleaner move.
A studio package isn't just buying production. It's buying back attention for the work only you can do.
Lighting Blueprints for Modern Content
Most tutorials stop at one person, one chair, one camera. That still matters, but it doesn't reflect how a lot of creators work now. 68% of podcasters now produce multi-host or interview formats, and 52% of creator output is short-form video, which makes the ability to adapt one setup for both horizontal and vertical framing in the same session a real production skill, as noted in this discussion on interview lighting challenges.
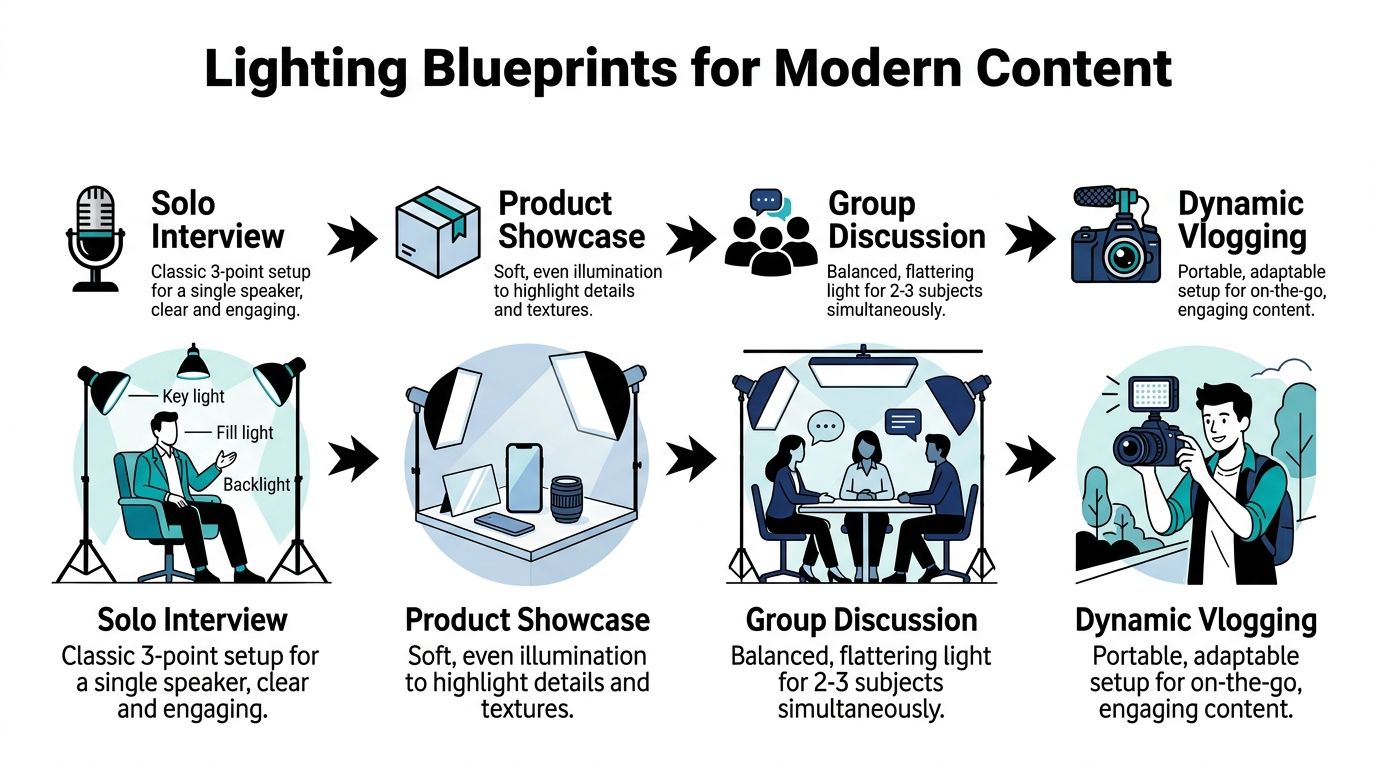
The polished solo host
This is the cleanest setup to master first because every lighting mistake is easy to see.
Use a soft key as your anchor. Keep it off to one side so the face has shape. Add a weaker fill on the opposite side, then place a backlight high enough to separate the head and shoulders from the background. If you have practical lamps in frame, keep them subtle. They should support the shot, not become the shot.
What usually works:
- A soft key angled across the face for dimension
- A lighter fill to keep shadows controlled
- A background separation light so the subject doesn't blend into the set
What usually fails:
- Front lighting from the camera position, which flattens facial features
- Overhead room lighting, which creates unflattering eye shadows
- A bright background with no subject separation, which makes the host disappear into the frame
The dynamic duo interview
Interview lighting is where beginner setups fall apart. Two people rarely sit at exactly the same distance or angle. One guest may lean forward. Another may wear glasses. The host might turn toward the guest instead of the camera. If you light them like one subject, you'll often end up with a hotspot on one face and a duller read on the other.
The fix is to treat the pair as one conversational zone, then make gentle adjustments for each seat.
A practical interview blueprint:
- Start with broad, soft sources. Small hard lights create mismatched shadows as people move.
- Keep eye lines in mind. Guests turn toward each other, so test the frame during real conversation, not just while they're facing camera.
- Balance exposure by distance. If one chair is farther from the key, either move the light, feather it, or adjust the seating.
- Protect the background. If the set is already visually busy, don't blast it with extra color and intensity.
In interviews, consistency beats drama. Nobody wins when one person looks cinematic and the other looks accidental.
If your show is built around two-person and guest-driven episodes, working in a dedicated video podcast studio makes these adjustments much easier because the room is already laid out for camera angles, conversation flow, and repeatable lighting positions.
The product demo setup
Product content creates a split priority. The host must look good, but the object also needs shape, detail, and texture.
A common mistake is lighting only the presenter. Then the product looks dull, reflective, or disappears against the table. The opposite mistake also happens. The product gets all the beautiful light and the host looks secondary.
A cleaner approach is layered control:
| Scenario need | Lighting priority | Common mistake |
|---|---|---|
| Host-led explainer | Face first, product supported | Product turns into a dark prop |
| Detail-focused demo | Product shape and texture | Host looks underlit or disconnected |
| Premium branded segment | Balanced face, hands, and object | Reflections and glare dominate |
If the product is reflective, move the light before you increase it. Angle solves more than power does.
Horizontal to vertical without rebuilding the room
This is the workflow gap most creators feel but few guides answer well. A setup that looks strong in horizontal can fall apart the second you rotate for reels or shorts. Suddenly the crop reveals a stand edge, the top of the frame feels dead, or the background practical that looked tasteful when viewed horizontally becomes awkward in vertical.
The answer is to build with both frames in mind from the start.
Use these habits:
- Center the most important light quality on the face, not just the horizontal composition.
- Leave vertical headroom in the set design so the frame doesn't feel cramped when turned upright.
- Avoid background clutter near the edges because those edges become more visible in portrait framing.
- Mark your floor positions for chair legs, tripod feet, and light stands so transitions are fast.
For teams shooting a full episode and then cutting social assets immediately after, the goal isn't to invent a second lighting setup. It's to create one adaptable base. That's the difference between a long day and a smooth one.
Your Signature Look Awaits
Great lighting doesn't make content meaningful. It makes meaningful content feel credible the second it appears on screen. That's why serious creators eventually stop treating lighting like an accessory and start treating it like infrastructure.
A strong video studio lighting setup does three jobs at once. It flatters the subject. It shapes the story. It makes the brand look composed and intentional. Once those pieces are in place, everything else works harder. The camera looks better. The set feels sharper. The edit has more range.
The most important shift is practical, not philosophical. You don't need to memorize every technical term or turn your office into a miniature film set. You need a system you can repeat. For some people, that's a compact rig they know well. For others, it's a studio workflow that removes guesswork and keeps production moving.
If you're creating interview content, branded podcasts, thought-leadership clips, or short-form cutdowns from the same session, the bar is higher now. Audiences are used to polished visuals. Clients are too. The upside is that once your lighting clicks, your content starts carrying itself with more authority.
If you're tired of tweaking lamps, chasing shadows, and hoping the footage feels premium in post, the next step isn't another random gear purchase. It's choosing a more reliable environment and a more repeatable process.
If you're ready to record in a space designed for polished podcasts, interviews, reels, and branded video, explore Flexwork Podcast Studios and book a session that gives your content the look it deserves.