
Acoustic Treatment for Home Studio: A Creator’s Guide
 July 19, 202623 Minutes
Headline: Acoustic Treatment for Home Studio Guide
Meta description: Learn what works in acoustic treatment for a home studio, what DIY gets wrong, and when a pro studio is the smarter move.
URL slug: acoustic-treatment-for-home-studio-guide
Primary keyword: acoustic treatment for home studio
Secondary keywords: home studio acoustic panels, bass traps for podcast room, podcast studio sound treatment
You've probably had this moment already. The camera looks clean, the topic is sharp, the guest is strong, and the final recording still sounds oddly small. Not bad enough to scrap, but bad enough to make the whole thing feel less credible than it should.
That gap usually isn't your mic. It's your room.
For creators building a serious brand, acoustic treatment for a home studio isn't a side quest for gear nerds. It's part of how your authority comes across. A reflective bedroom can make a smart host sound distant. A boomy office can make a polished interview feel rushed and cheap. If you've listened back and wondered why your content doesn't sound as premium as it looks, you're hearing the room more than you think. If you want a baseline for what polished audio should feel like, this guide pairs well with practical ways to improve audio quality.
Your Content Is Great Why Does It Sound Amateur
A creator records at home after work. They've planned the episode, outlined the talking points, lit the shot, and bought a decent microphone. Then playback starts. The voice sounds hollow. Consonants splash off the walls. Pauses feel noisy instead of intentional.
That's the problem with room sound. It subtly diminishes the perceived quality of everything else.
Listeners usually won't say, “your early reflections are the issue.” They'll say the show sounds off, harsh, distant, muddy, or hard to follow. That's what makes this frustrating. You can do everything right creatively and still lose authority because the room keeps inserting itself into the recording.
A polished message loses force when the room keeps talking over the speaker.
For podcasters, coaches, founders, and media-first entrepreneurs, sound quality isn't vanity. It signals control. It tells a listener this brand is organized, intentional, and worth staying with. A room with poor treatment does the opposite. It makes strong content feel provisional.
That's why the smartest creators stop treating acoustics like a technical footnote. They treat it as part of presentation. The room is part of the performance, whether you planned for it or not.
Diagnosing the Echo in Your Room
Most home studios don't fail because the owner lacks ambition. They fail because the room sounds normal during conversation, then falls apart once a microphone starts capturing detail.
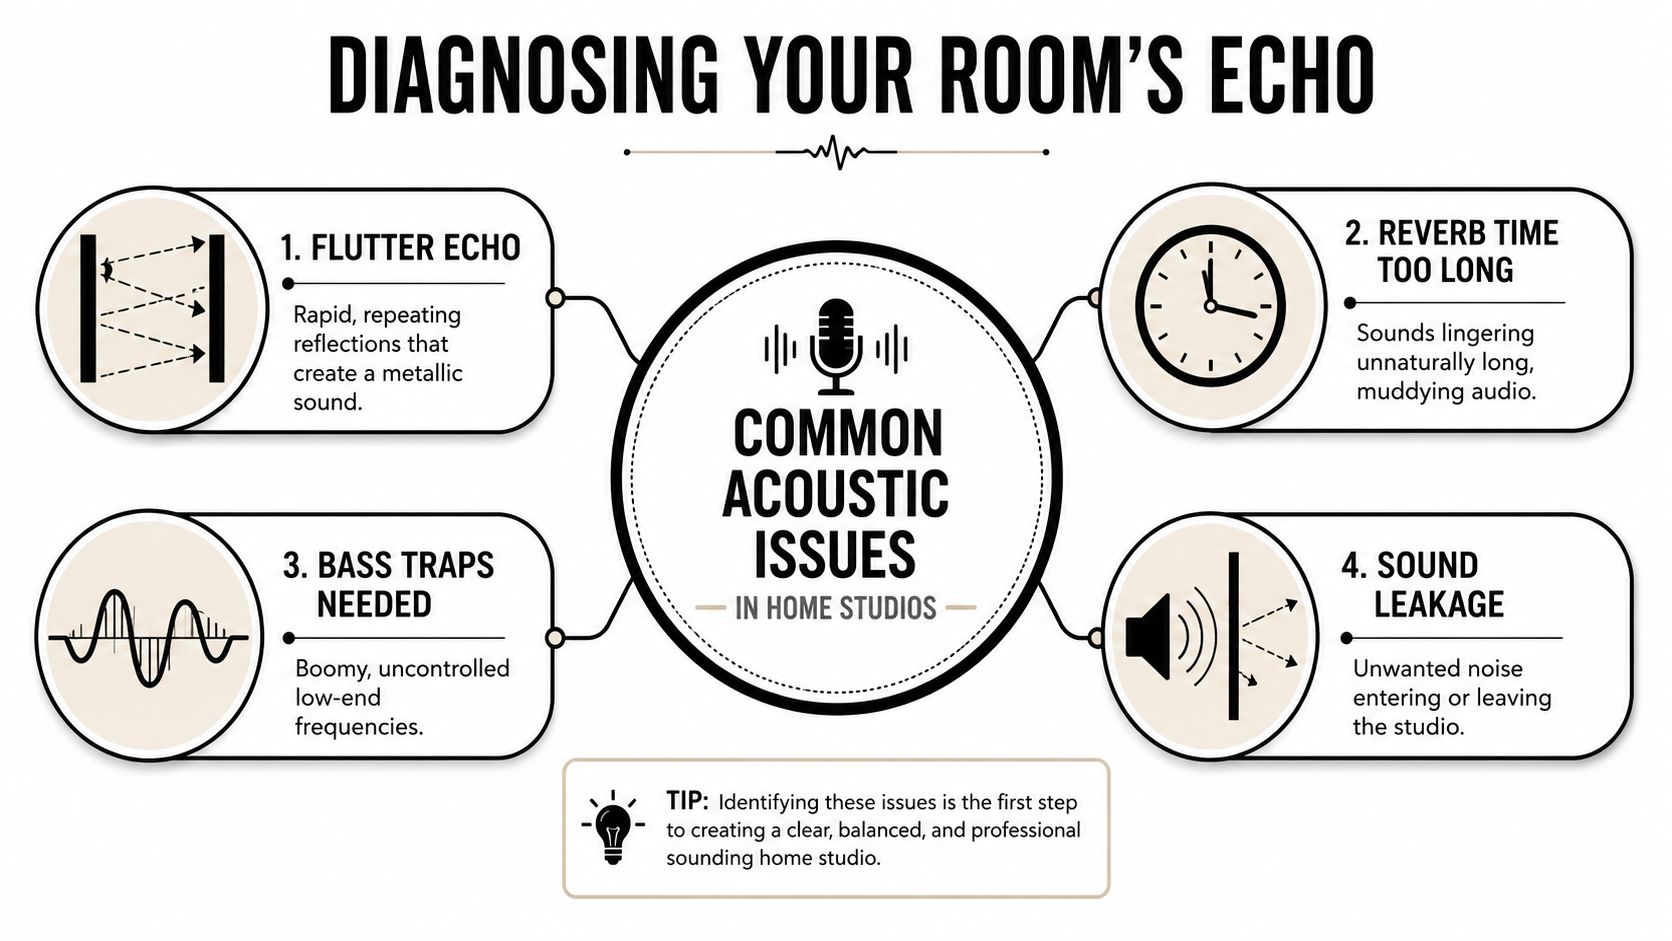
Recent data from 2025 to 2026 indicates that 60% of podcasters and vocalists skip treatment entirely, relying on software correction, while untreated rooms introduce 15–30 dB of reverb in early reflections that EQ can't fully remove, which hurts vocal intelligibility, according to this video breakdown on untreated room reflections.
What you're actually hearing
Three problems show up again and again in home recording spaces:
- Flutter echo happens when sound pings rapidly between hard, parallel surfaces. It creates that papery, metallic ring you hear after a clap.
- Long reverb makes words hang in the room too long. The result is that “bathroom” sound people often try to fix with plugins.
- Low-frequency buildup is the sneaky one. Your voice or music feels thick, vague, or boomy even when levels look fine.
There's also a fourth issue creators mix up with treatment: sound leakage. Treatment controls reflections inside the room. Isolation controls what enters or leaves it. They matter for different reasons, and this guide on how to soundproof a room is useful if outside noise is part of your problem.
The clap test still works
You don't need a full lab setup to spot obvious issues. Start with this:
- Stand where you record most often. Don't test from the doorway.
- Clap once, sharply. Listen for a zing, slap, or lingering tail.
- Walk the room. Corners, desk area, and the wall behind the mic often reveal different problems.
- Read a few lines out loud. Spoken voice exposes harsh reflections faster than casual conversation.
If the clap dies quickly but the room doesn't feel unnaturally dead, that's good. If it rings, splashes, or blooms in the low end, the room needs work.
Practical rule: If your room sounds flattering to your ears but vague on playback, the mic is picking up reflections you've learned to ignore.
Why this matters for audience retention
Echo doesn't just sound amateur. It adds friction.
Listeners work harder to decode words in reflective rooms. Hosts sound less grounded. Guests feel less intimate. For podcasts and talking-head content, that's costly because the whole format depends on clarity, presence, and trust.
A useful mental shift is this: you're not treating a room because you love foam panels or acoustic diagrams. You're treating a room so the listener hears the thought, not the walls.
Your Acoustic Treatment Blueprint
A workable room usually comes together in the same order. The creators who get stuck tend to buy whatever looks studio-ready, spread it across empty wall space, and hope the room sorts itself out.
A room responds to placement, thickness, and sequence. Decoration is secondary.
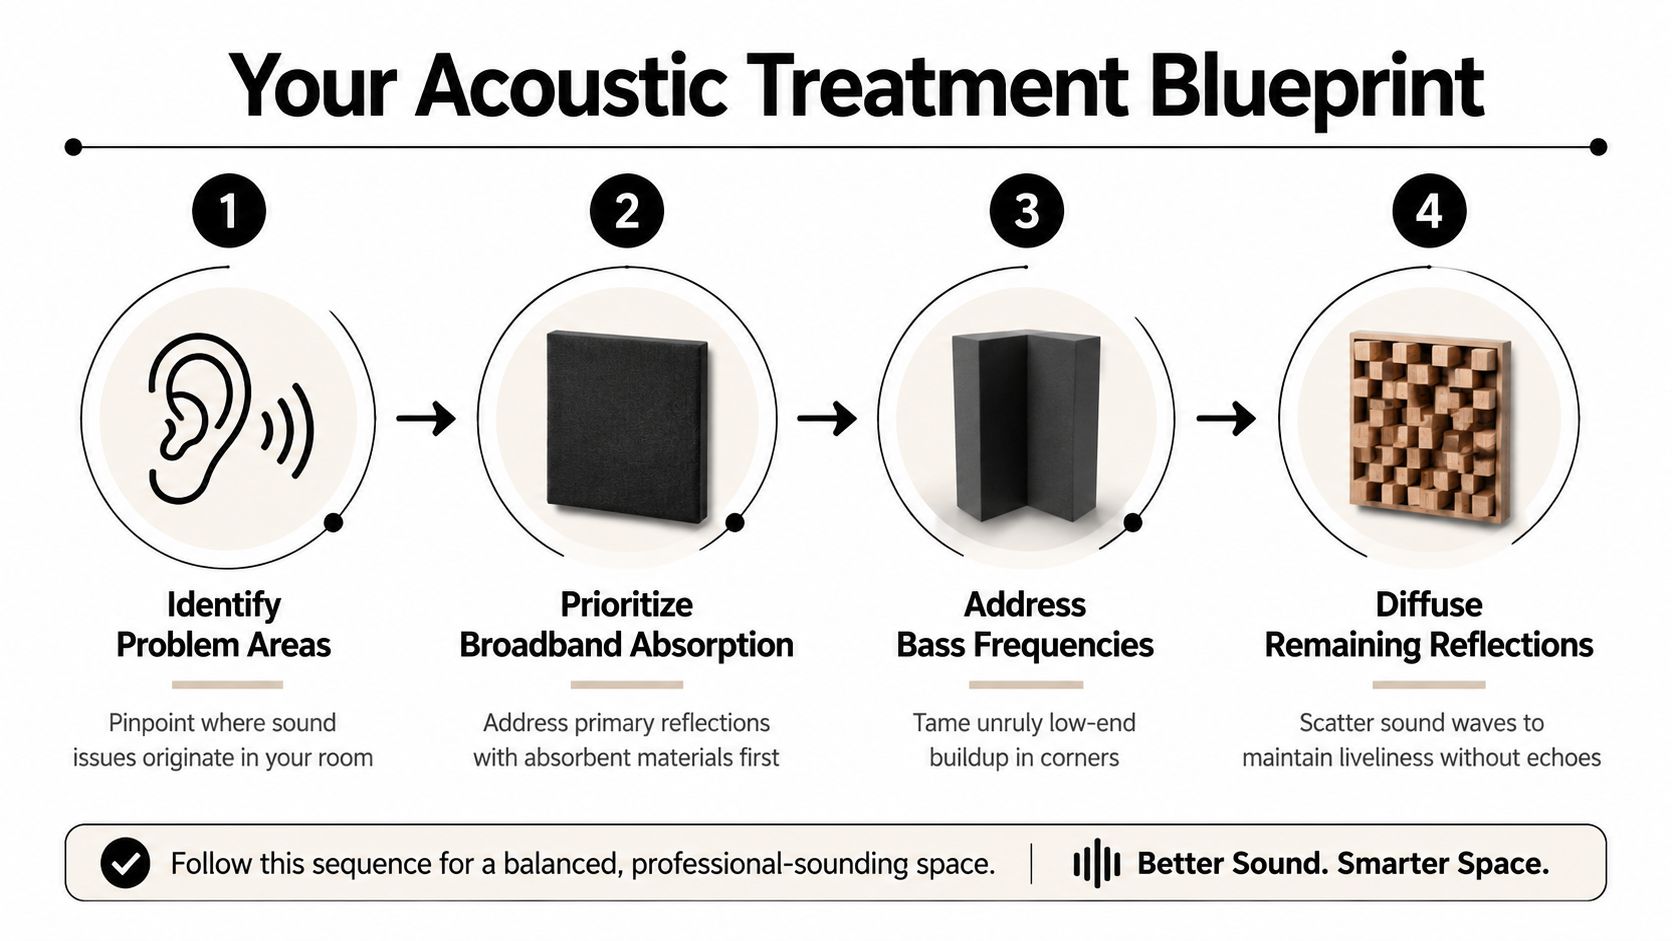
One practical DIY framework, outlined in this step-by-step acoustic treatment guide from Waves, starts with floor-to-ceiling bass trapping in the corners, then adds broadband absorption at first reflection points, uses main panels in the 3.5 to 4 inch range, leaves an air gap behind wall panels where possible, and verifies the result with measurement instead of guesswork. That order is worth following because each step solves a different problem.
Start where the room stores energy
Corners matter first because that is where low-frequency buildup becomes hardest to ignore.
If speech recordings have a cloudy chestiness or your edits never translate cleanly to headphones, corner treatment usually gives the fastest improvement per dollar. In small rooms, bass traps do work that thin foam cannot. They reduce the low-mid smear that makes a polished performance sound homemade.
This is also where DIY starts teaching an expensive lesson. Once you hear how much the corners affect clarity, it becomes obvious why professionally designed rooms cost more than a few boxes of panels. They are built around control, not appearance.
Then treat the earliest reflections
After the corners, handle the first surfaces that send sound back toward the mic or listening position. For a simple setup, the mirror trick is still one of the best tools available.
- Sit where you record or monitor.
- Have someone slide a mirror along each side wall.
- Mark the places where the speaker or source path becomes visible.
- Mount broadband panels there.
- Check the ceiling above the desk or mic position if you can treat it.
This step usually changes how a room feels right away. Dialogue gets more focused. Monitor playback gets easier to judge. Harsh splash turns into definition.
Use enough depth to matter
Panel thickness is where many first builds go sideways.
A thin foam tile can shave off a bit of high-frequency ring, which is why beginners often think it worked. Then the recording still sounds boxy, or the mix still has muddy low mids, because the problem sits lower in the spectrum than the foam can usefully address. For broadband panels, real depth matters. So does the air gap behind them.
I usually tell people to judge treatment by what it fixes at the mic, not by how finished it looks on the wall.
Control the room without killing it
A treated room should sound calm, not lifeless.
Covering every surface often creates a strange result. The top end gets dull, but the room still keeps some of the low-frequency problems you were trying to fix in the first place. A better approach is selective coverage. Treat the corners, catch the early reflections, and stop once the room sounds controlled and intelligible.
That restraint matters. One of the best outcomes of doing this yourself is learning where the point of diminishing returns begins. That knowledge makes it easier to decide whether your next dollar should go into more DIY experiments or into a room that was designed properly from the start.
Measure if the room has to do double duty
If you both record and edit in the same room, measurement stops a lot of wasted effort. REW with a calibration mic such as a UMIK-1 gives a clearer picture of what changed and what did not. Small speaker placement moves can also help reduce front-wall interaction problems, but only if you test one change at a time and listen carefully after each move.
That process is slower than buying another panel, but it saves money in the long run.
A priority stack that holds up
For a first serious setup, use this order:
- Corners first: Install bass trapping before buying decorative foam.
- Reflections second: Treat sidewall and ceiling reflection points that directly affect the mic or monitors.
- Depth third: Choose broadband panels with enough thickness to do useful work.
- Measurement fourth: Use REW and a calibration mic if the room also serves as your editing or mixing space.
- Diffusion last: Add it only after the room is controlled and you have a reason for it.
If you're refining spoken delivery along with the room, these voice over audio editing tips pair well with treatment because editing can improve a good recording, but it cannot rescue a reflective room.
For creators building from scratch, these podcast studio design ideas help at the planning stage, when layout decisions still have more impact than gear purchases.
The DIY Path and Its Common Pitfalls
DIY treatment can be a smart move. It teaches you what your room is doing, where your money matters most, and how fast “studio aesthetic” can drift away from actual performance.
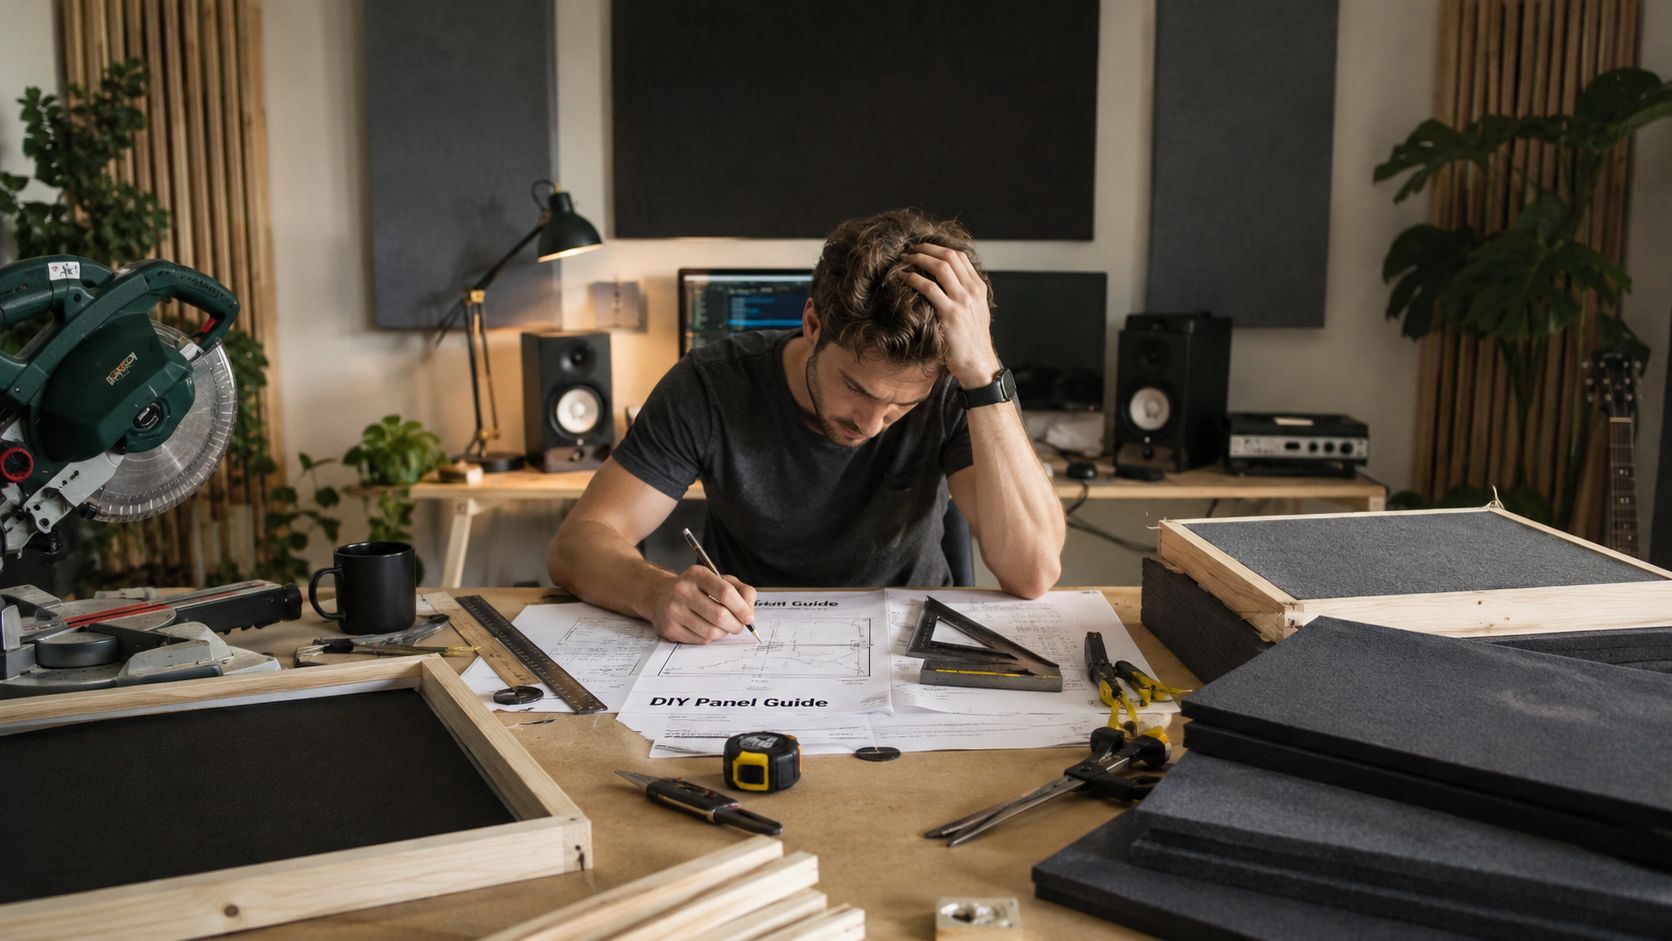
It can also become a slow, expensive detour.
Over 70% of home studio users report dissatisfaction with low-end clarity despite installing treatment, which points to widespread confusion around panel thickness and placement, especially the limits of thin foam, according to this Soundproof Your Studio episode on low-end treatment mistakes.
What DIY gets right
The DIY route gives you control. You can build around your actual use case instead of buying a generic kit.
For a voice-focused setup, that often means prioritizing the area around the mic position, handling the corners, and reducing the earliest reflections instead of trying to imitate a full commercial control room. You also learn the difference between a room that looks finished and one that records cleanly.
What DIY gets wrong
The most common mistakes tend to cluster around a few habits:
- Buying foam first: Thin foam is easy to install and easy to regret. It may soften highs while leaving the low-end mess untouched.
- Treating only visible walls: Corners and ceiling zones often matter more than the obvious blank wall behind the camera.
- Copying symmetrical layouts: Perfectly mirrored panel placement can backfire in some rooms. Staggering is often smarter.
- Skipping doors and noise sources: Gaps around doors, noisy computers, and hard drives near the mic can undermine the whole setup.
- Checking once and calling it done: Pink noise, reference tracks, and repeated listening tests matter because rooms change as you add treatment.
A quick comparison helps.
| Approach | Good for | Risk |
|---|---|---|
| DIY build | Learning your room, gradual upgrades, custom placement | Wasted spend on ineffective materials |
| Pre-made cheap kits | Fast setup, visual polish | Looks solved, sounds unresolved |
| Professionally designed room | Reliable results, faster workflow, stronger consistency | Less hands-on experimentation |
Here's a practical reality check before you keep spending:
If every new panel fixes one annoyance but reveals another, you're not failing. You're discovering how hard low-frequency control is in small rooms.
A visual walkthrough can help if you're comparing approaches and expectations.
When DIY stops being efficient
There's a point where learning becomes leakage. You've spent weekends building panels, rearranging furniture, troubleshooting hums, moving speakers, and re-recording intros because the room still isn't dependable.
That's the moment to ask a better question. Not “can I keep doing this?” but “should I?”
If your brand depends on consistency, the hidden cost of DIY is often time. That's why it's worth comparing your setup against a purpose-built environment and seeing what you gain by going pro instead of staying DIY.
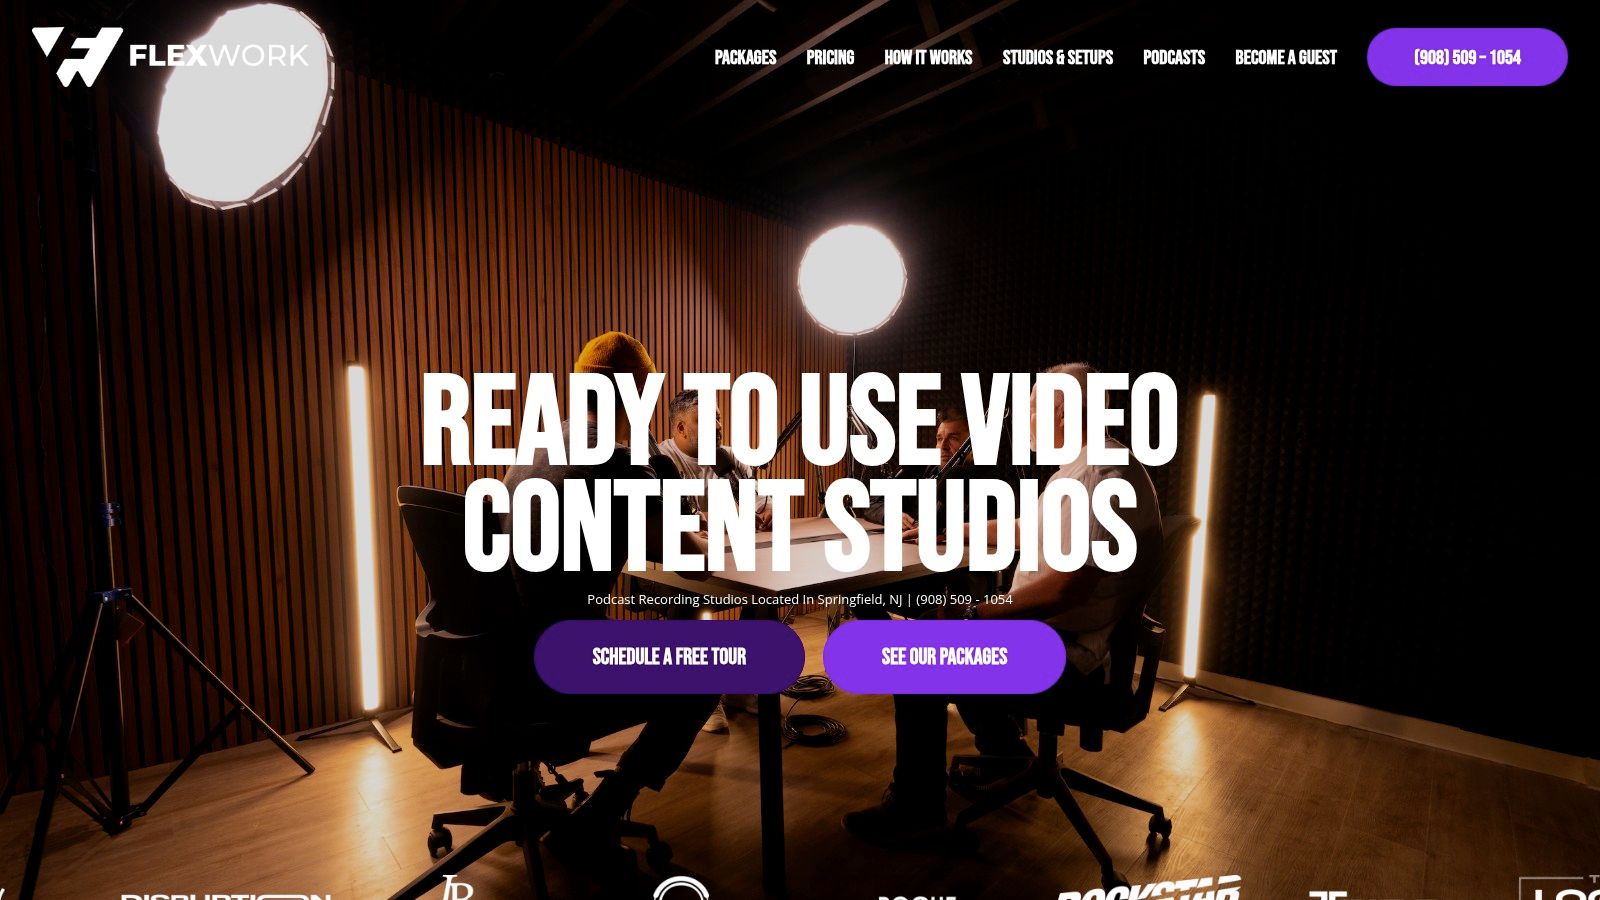
When to Skip the Hassle The Flexwork Advantage
There's a version of DIY that's rewarding. There's another version that turns every recording day into troubleshooting.
When your schedule is tight, your content output matters, or your show represents a business, there's real value in working inside a space that already behaves the way it should.
Expert consensus identifies the biggest single move as installing four floor-to-ceiling bass traps, and it also notes that standard 2-inch panels fail to absorb frequencies below 150 Hz, leaving muddy mixes unresolved in approximately 60% of untreated DIY setups, according to this home studio acoustic treatment benchmark.
What the premium option actually buys you
A professional studio isn't just paying someone else to own the panels. It's paying for certainty.
You remove the guesswork around low-frequency control, mic placement, room tone, and repeatability. You also remove the drag of testing your space every time you want to create. For podcasters, that matters because consistency is part of brand identity. A listener should hear the same confidence in episode twenty that they heard in episode two.
Packages that make sense when content is a business
Some creators only need a polished room and fast capture. Others need the whole machine.
Here's where structured support changes the game:
- Studio rentals: Best for creators who want speed, control, and a space that's ready when they are. If your main problem is room quality, this is the cleanest fix. Explore a podcast space for rent when you want a professional environment without building one at home.
- Content Day sessions: $3000/day and includes 20 edited reels or 60 pro photos. This is the high-output choice for founders, experts, and brands batching premium content in one controlled session.
- Podcast websites: $5000 plus hosting. Useful when the show needs a real home, not just an audio feed.
- Market, Manage & Produce My Podcast: Starts at $1500 per episode with a 20-episode growth commitment. That's the serious option for teams who care about audience growth, production consistency, and operational relief.
- Be My Podcast Producer: A strong fit for creators who want hands-on production support without juggling the full technical stack themselves.
You can spend months learning room treatment, or spend that time getting better on mic.
The real decision
The question isn't whether DIY is respectable. It is.
The question is whether your best use of time is building acoustic competence or building your show. For hobby projects, DIY can be part of the fun. For brands, agencies, founders, and high-volume creators, the premium move is often to stop solving infrastructure problems personally.
Sound Like You Mean Business
Audio is one of the fastest ways people judge whether your content is credible. They may not know why a recording feels polished, but they know when it does.
If you're building your own setup, treat the room with discipline. Start with corners, handle reflections, measure what changes, and resist cosmetic fixes. If you're still refining the monitoring side of your workflow, this ultimate guide to mixing headphones is a helpful companion because monitoring decisions shape how confidently you can judge your recordings.
If your show already supports a brand, a business, or a bigger content engine, don't confuse doing it yourself with doing it well. There's a point where the smarter move is stepping into a room that already delivers the standard your audience expects.
Professional sound isn't a luxury anymore. It's presentation. It's trust. It's the difference between sounding like you have an idea and sounding like you run the room.
Book a session with Flexwork Podcast Studios if you want broadcast-ready sound without the trial-and-error of building it all yourself. Whether you need a turnkey studio rental, a full production partner, a $3000/day Content Day, a podcast website for $5000 plus hosting, or a growth-focused package starting at $1500 per episode with a 20-episode commitment, the fastest way to upgrade your show is to record in a space designed to make you sound established from the first take.