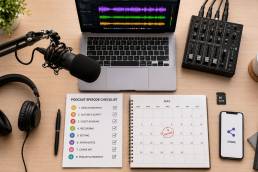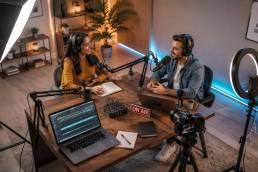

How to Prepare for Studio Recording Like a Pro
 August 24, 202621 Minutes
You've booked the studio, invited the guest, and promised a polished episode. Then recording day arrives with missing talking points, an untested laptop, a noisy room, and a host who's still finding their voice when the red light comes on. The clock keeps running while everyone solves problems that should've been handled beforehand.
Knowing how to prepare for studio recording means treating the session as a production workflow, not a gear ritual. You'll need editorial decisions, room and signal checks, vocal preparation, and a backup plan that survives small failures. Flexwork Studios supports that process through studio rentals, podcast production, Content Day sessions, and podcast websites, but the quality of any session still improves when the host arrives ready to perform.
Walking Into a Studio Session Prepared
A creator walks into a booked session with three missed cues, a borrowed laptop, and no usable outline. The guest has prepared different talking points, the engineer is waiting for files, and the host wants to “just see where the conversation goes.” That sounds relaxed until every segment needs a second take, the intro gets rewritten between setups, and the session produces more confusion than content.
Studio time is paid time. Unstructured minutes cost more than a better microphone because they interrupt the work that only happens once the cameras and microphones are live. Preparation protects the part of the session that matters most, your attention.
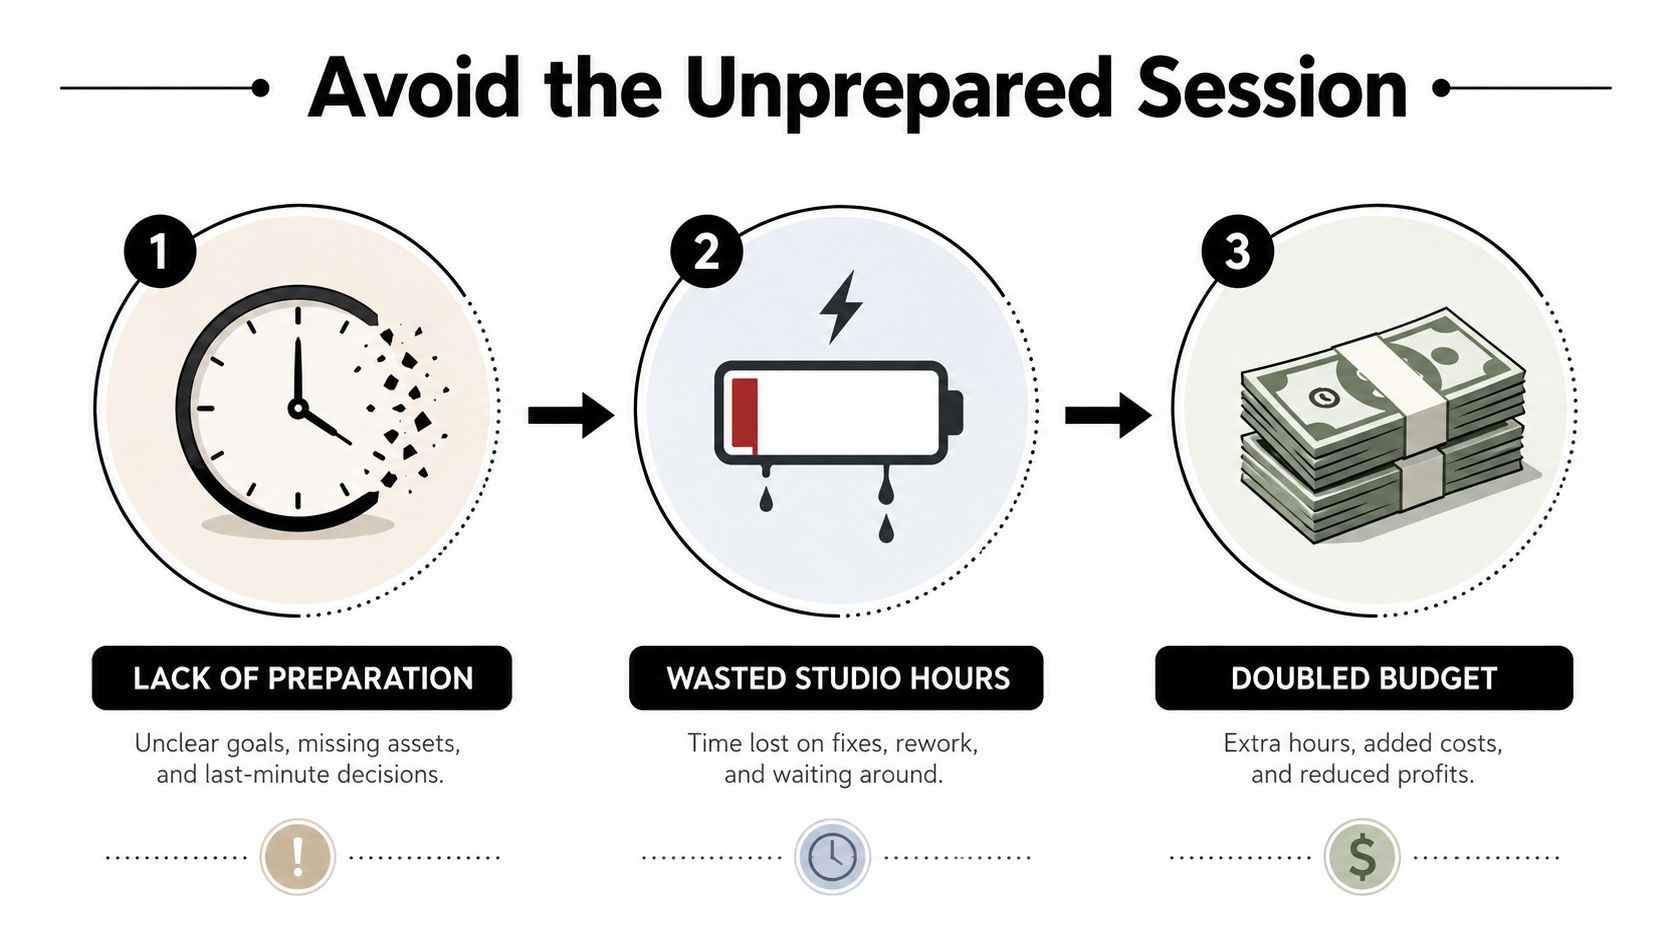
Four decisions protect the creative work
A reliable session plan has four connected dimensions:
- Editorial decisions: Know the episode's central idea, essential questions, segment order, and must-say points. Leave room for spontaneous moments, but don't make the structure up under pressure.
- Technical checks: Confirm the room, microphone, headphones, gain, camera framing, file paths, and recording format before the first full take.
- Vocal readiness: Give your voice time to warm up and schedule the most demanding sections while your energy is strongest.
- Operational backup: Carry duplicate files, confirm who owns each task, and know what happens if a cable, device, or guest connection fails.
This is project management with a microphone attached. Newcastle University's podcast preparation guidance recommends arriving with research, analysis, practice, and written questions, while also encouraging a backup recording strategy and phone flight mode rather than relying on luck (Newcastle University's podcast preparation guide).
Producer's rule: The studio should feel like the place where ideas come alive, not the place where you discover what the ideas are.
Before your next booking, review the unspoken rules of the recording game. A prepared host gets fewer retakes, cleaner audio, and enough mental space to respond naturally instead of reading panic from the room.
Locking In Your Editorial and Logistics Plan
Forty-eight hours before the session, stop adding ideas and start making decisions. A flexible outline is useful. An unresolved outline is expensive.
Build the episode around priorities
Lock the episode's core message and arrange the segments in a clear order. Give each segment an approximate place in the session, then separate must-say points from optional asides. If time gets tight, you'll know what to protect.
Write the cold open last. By then, you'll know which question, story, or exchange carries the strongest energy. Drafting it too early often produces an introduction that promises a different episode from the one you recorded.
Use a hybrid document:
- A short script for the intro, outro, sponsor language, names, pronunciation notes, and any legally sensitive wording.
- Bullet points for discussion sections, examples, follow-ups, and transitions.
- A visible priority mark beside anything that cannot be omitted.
A word-for-word script gives control, but it can flatten spontaneity and make a conversation sound performed. Full improvisation feels freer, but it invites repetition, missed cues, and unnecessary retakes. The hybrid approach gives the host a rail without turning the episode into a recital.
Remove logistics from recording day
Confirm the engineer or producer, send the outline and media files in advance, agree on the episode format, and clarify the expected length. Decide whether you'll record continuously or by section. Recording by section makes corrections easier, while one continuous take can preserve conversational momentum.
Plan water and bathroom breaks before the session begins. Tell the guest when they'll receive prompts, whether they should look at the host or camera, and how retakes will work. Send the same information in writing so nobody has to remember it from a quick call.
Your final preparation is physical and visual. Check the route, leave buffer for arrival, and bring wardrobe options that work against the set. Avoid noisy jewelry, tight fabrics that rub against a lavalier, and clothing that fights the posture you need to maintain. Review Flexwork's podcast production workflow when you're aligning guests, assets, recording, and post-production responsibilities.
Running Your Technical Pre-Flight
Walk the room before you touch the microphone. Put your phone in airplane mode, silence computer notifications, and listen with the monitors off. Evaluate the HVAC at idle, identify traffic, fans, electrical hum, ringing, or reflections, and fix the loudest problem first.
A professional control room benchmark is NC-15, roughly 20 dBA, while project studios may accept NC-20. Critical vocal booths are often targeted between NC-10 and NC-15. Professional recording control rooms commonly aim for an RT60 around 0.2 to 0.4 seconds, which describes how quickly sound decays in the room (recording studio acoustic guidance). You don't need to recite those standards at the door, but you should understand the principle: a great microphone can't erase HVAC rumble or uncontrolled reflections.
Make the signal predictable
Check the stand, shock mount, and pop filter. Position the host consistently, usually 6 to 8 inches from the microphone, and keep the capsule aimed correctly. Distance changes alter tone and level, so a host who leans forward for emphasis can create as much editing work as a bad cable.
Set the fader at unity, speak at the loudest intended performance level, and raise the preamp until peaks land around -12 to -6 dBFS, with average speech roughly near -18 dBFS (microphone gain staging guidance). Watch the meters for at least 30 seconds of natural speech. Never test only at polite conversational volume if the episode includes laughter, excitement, or raised emphasis.
Record a quiet pause and inspect the noise floor. Spoken-word setups should aim for about -60 dBFS or lower, and a practical test involves recording 10 to 15 seconds of silence before eliminating HVAC, computer fans, open windows, and reflective surfaces (noise floor analysis guidance). A separate recording guide recommends capturing 10 to 30 seconds of room tone and listening for hum, traffic, and ambient changes (podcast recording best practices).
| Signal Stage | Target | Why It Matters |
|---|---|---|
| Room noise | About -60 dBFS or lower | Leaves a cleaner bed under spoken audio |
| Average speech | Roughly -18 dBFS | Keeps normal delivery comfortably above the noise |
| Speech peaks | -12 to -6 dBFS | Preserves headroom for laughter and emphasis |
| Room decay | RT60 around 0.2 to 0.4 seconds in professional control rooms | Reduces distracting reflections |
For broader microphone context, compare microphones that work well with voice apps, then review Flexwork's podcast microphone guide before choosing a setup.
Test the failures, not just the greeting
Check the headphone mix, confirm the host can hear the guest without latency, and create a backup recording on a second device or SD card. Label files with the episode name, take number, and timestamp so the editor doesn't have to decode “final-final-new.wav.”
End with a 60-second sound check. Capture a laugh, a whisper, a normal answer, and a lean backward. Those variations expose popping, distance changes, low gain, clipping, and room coloration before you've spent the session recording usable content.
Warming Up Your Voice and Energy
Your voice needs a controlled ramp-up. Treating vocal preparation as superstition is a mistake, but forcing a cold voice through the opening segment is just as avoidable.
Start 48 hours out by doubling your daily water intake, cutting caffeine after noon, and avoiding alcohol or dairy the night before. Two hours before recording, spend five minutes on lip trills, tongue stretchers, and sustained sirens from low chest to falsetto. Then read a paragraph of the script aloud at conversational volume.
Pace the session around stamina
On arrival, run another three-minute pass while the engineer checks levels. Schedule talk-heavy sections for the first 60 to 90 minutes, when vocal stamina is usually strongest. Save breaths, ad-libs, and B-roll pickups for later, when the session can use lower-pressure tasks.
Keep warm herbal tea with honey nearby, avoid iced drinks mid-take, and stand between segments to reset posture. Consistent posture supports consistent mic distance, while standing can help restore energy after a demanding exchange.
For creators producing narrated experiences, the same listening judgment applies when selecting voice-over background music for tours. Music must support the voice rather than compete with its detail, and that balance starts with a clear recording.
Use this short pre-session sequence:
- Hydrate and settle your breathing.
- Warm the lips, tongue, and vocal range.
- Read aloud without forcing volume.
- Practice the hardest names or phrases.
- Begin with the sections that demand the most focus.
Watch the pacing example below, then adapt it to the length and intensity of your own session.
Your editor will hear the difference between a host who warms up gradually and one who starts at full strain. The final cut also benefits from steadier energy, cleaner diction, and fewer stops caused by vocal fatigue.
Why a Professional Studio Changes Everything
You arrive with a finished outline, a warmed-up voice, and a clear session plan. The room still determines whether those preparations become clean, dependable material or a collection of problems for the editor. A professional studio removes variables that are difficult to control at home.
Acoustic treatment limits reflections and room rumble. A prepared signal chain keeps the voice at a usable level above the noise floor without pushing into the digital ceiling. Before the take, the engineer checks cables, monitoring, headphone mix, file capture, and redundancy. You can focus on the conversation instead of troubleshooting equipment.
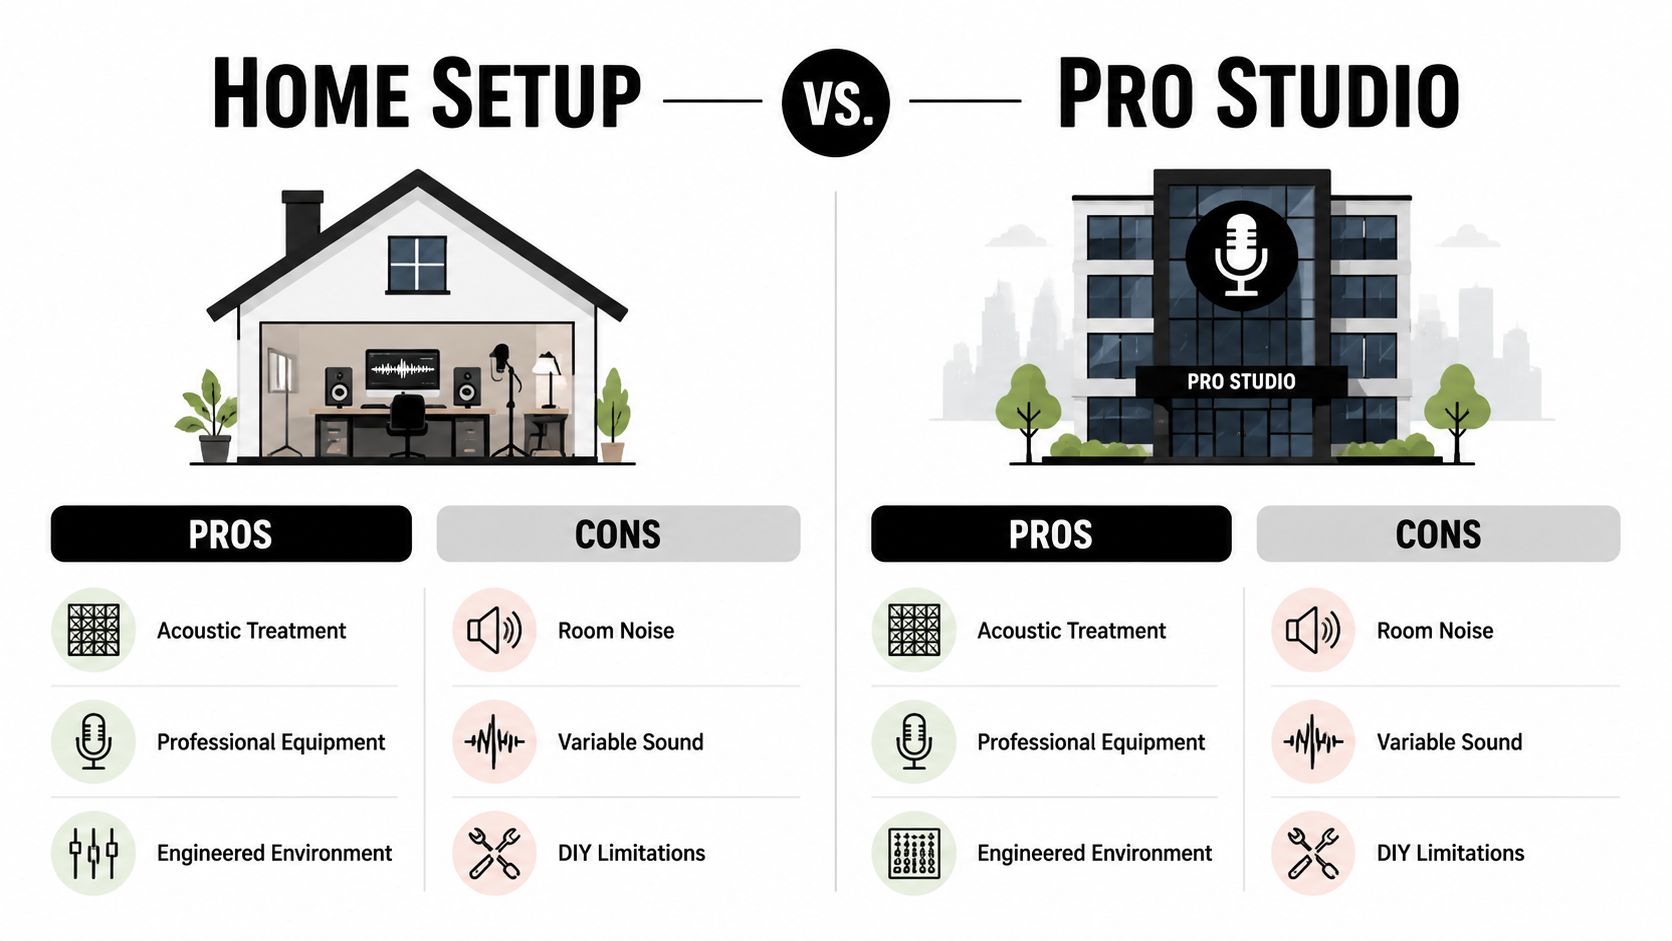
The trade-off is clear
A home setup gives you scheduling freedom and direct control. It also makes you responsible for HVAC noise, traffic, untreated reflections, cable interference, latency, camera framing, and file backups. A professional room costs more per hour, but it removes those distractions and leaves fewer creative decisions to make during recording.
| Home Setup | Professional Studio |
|---|---|
| Room noise changes with the environment | Acoustics are controlled for the recording purpose |
| Equipment choices remain your responsibility | The signal chain is configured before the take |
| Monitoring and backups require DIY discipline | Engineering support can catch faults early |
| Lower immediate session cost | More predictable material for editing and delivery |
For archival and delivery-quality audio, agree on the file format before recording. Broadcast Wave or WAV files are recommended, with 48 kHz accepted for interviews and 24-bit depth recommended for all recordings. Some standards treat 96 kHz as ideal for higher-fidelity capture, as explained in this audio best-practice guidance. Decide the format before the session, not after the files exist.
A useful overview of current setup considerations is available in this 2026 creator gear and studio guide. Gear matters, but the room and workflow determine whether that gear produces a dependable master.
Flexwork fits the turnkey model
Flexwork Podcast Studios in Springfield, NJ combines acoustically treated podcast and video rooms with professional audio and cinema equipment. Its studio rentals and production packages can support recording, sound mixing, video editing, motion graphics, show branding, distribution, and podcast websites.
The facility suits creators who want the room, engineering workflow, and production support prepared before arrival. Review what you gain by going pro before choosing between hourly rental and a more involved production package.
Troubleshooting the Session Day
Session-day problems rarely need a lecture. They need a fast response that gets the recording moving again.
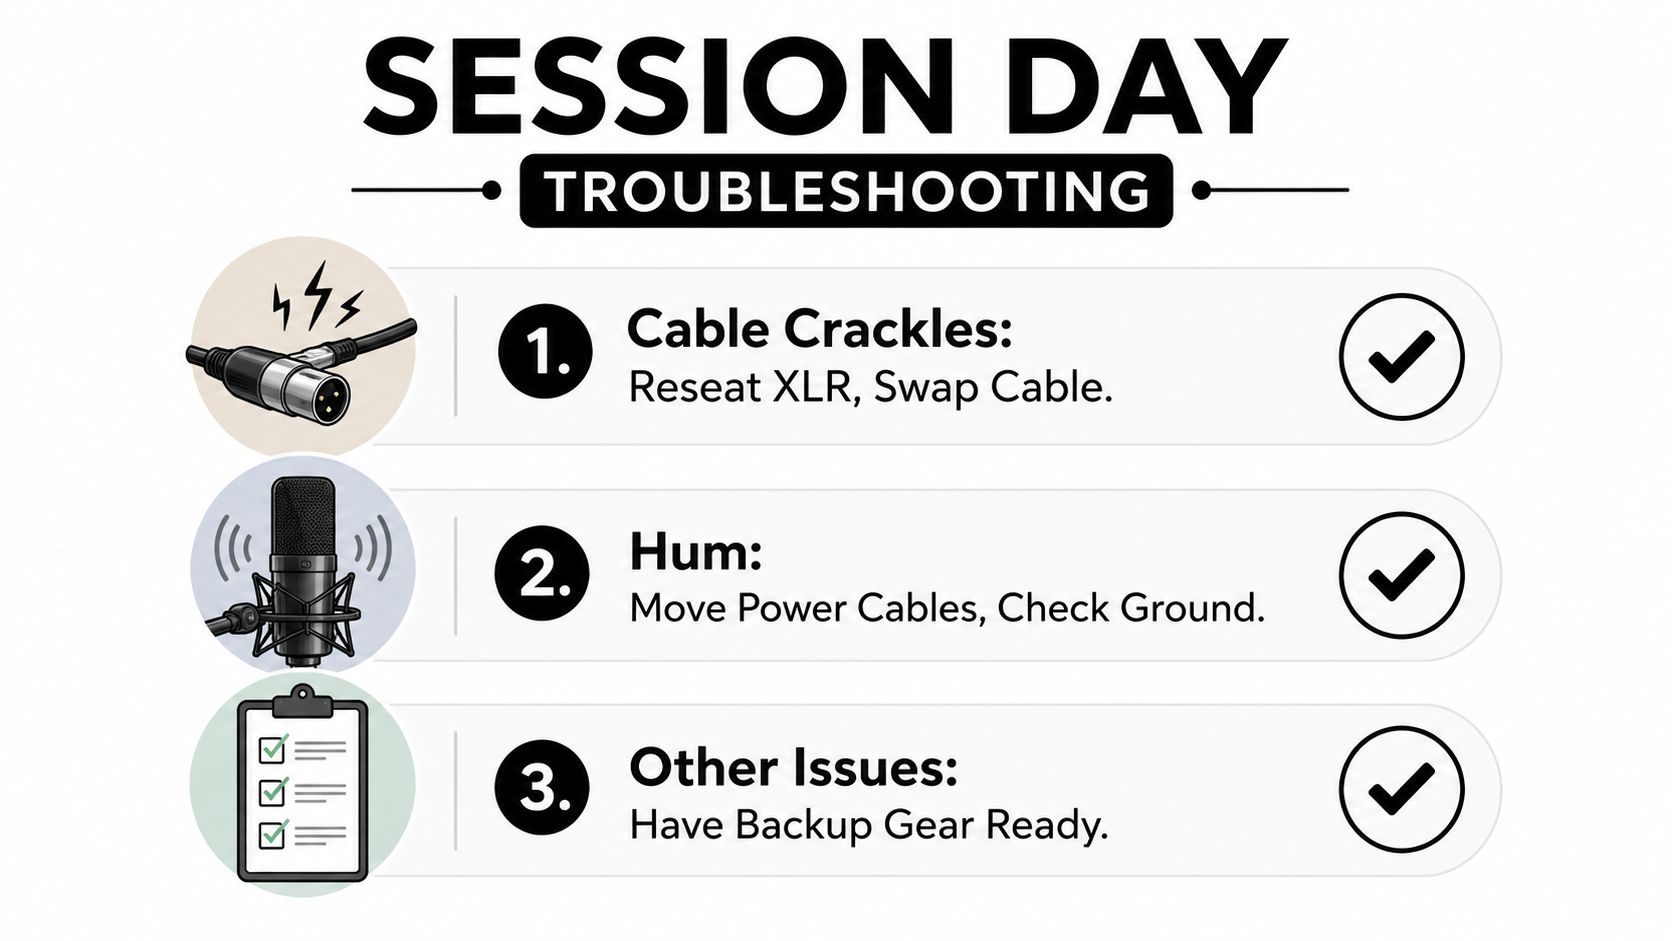
Keep the fixes simple
- Cable crackles: Reseat the XLR cable, then swap it. Move power supplies away from audio lines.
- Electrical hum: Separate power and audio cables, check the ground path, and test another input if the hum remains.
- Clipping: Drop the preamp gain by 3 to 6 dB, then retest at peak performance volume, not quiet reading volume.
- Missing files: Carry two copies, one on your phone in the cloud and one on a USB drive. Email yourself a PDF the night before.
- Monitoring latency: Confirm the buffer is set for recording rather than live tracking, and use closed-back headphones.
- Unclear direction: Send goals and reference tracks in writing before the clock starts. Tone debates belong in pre-production, not halfway through the booking.
If the host suddenly changes position, stop and reset the mic distance before continuing. If the room noise changes, capture another silence sample rather than assuming the editor can hide it later.
Fastest fix: Stop the take, name the problem, make one change, and record a short test. Don't stack guesses on top of a bad signal.
Treat this as a laminated response card. Stress narrows attention, so the best troubleshooting plan is short enough to follow without reopening the entire theory of recording.
Your Next Step Toward a Flawless Take
Preparation isn't paranoia. It's the highest-impact investment you make before the session begins because it protects every later decision, from the opening question to the final export.
Lock the editorial plan first. Then run the room and signal pre-flight, warm the voice, and confirm the backup path. Each part supports the next. A strong outline can't rescue clipped audio, and a perfect room can't rescue a host who hasn't decided what the episode needs to say.
A professional facility gives that workflow somewhere dependable to operate. Controlled acoustics reduce room variables, calibrated equipment supports consistent capture, and on-site engineering lets the host stay focused on performance. You can choose hourly studio rental for a focused session or explore a production package that brings recording, mixing, video editing, and deliverables into one coordinated process.
Once the recording is complete, the finish still matters. Use post-production best practices for perfecting podcast episodes to keep the final file aligned with the quality you established in the room.
Book a facility tour to inspect the rooms, signal chains, and engineer support before your next recording. If you want a turnkey path, explore Flexwork's production packages and choose the level of help that matches your episode, guest list, and publishing plan.
Flexwork Podcast Studios offers acoustically treated studio rentals, podcast production packages, Content Day sessions, editing, branding, and podcast websites for creators who want a reliable recording workflow. Visit Flexwork Podcast Studios to book a tour or start planning a broadcast-ready session today.