How to Set Up a Home Studio for Pro-Level Content
Headline: How to Set Up a Home Studio
Meta description: Learn how to set up a home studio for pro-level audio and video, avoid costly mistakes, and know when a premium studio is the smarter move.
URL slug: /how-to-set-up-a-home-studio
Primary keyword: how to set up a home studio
Secondary keywords: home recording studio setup, podcast studio setup, acoustic treatment for home studio
You've probably felt it already. You finish recording, pull the footage into your editor, and instantly hear the problem. The voice sounds boxy. The room sounds cheap. The video looks decent, but the overall result doesn't match the level of your ideas. That gap is frustrating because your ambition is professional, but your setup keeps signaling “not there yet.”
This is the core conversation around how to set up a home studio. It's not just about buying gear. It's about building a system that protects your brand every time you hit record. If you're still sorting through cables, bad acoustics, and inconsistent quality, you're not alone. If you want a quick primer on essential streaming gear, that resource is useful before you spend another dollar. And if you're already asking whether DIY is costing you more than it saves, this breakdown on studio vs. DIY podcasting is worth your time.
Introduction
The hard truth is that “good enough” content doesn't hold up anymore. Listeners notice echo. Viewers notice flat lighting. Potential clients notice when your presentation feels improvised instead of intentional. In a crowded creator economy, production quality shapes trust before your audience even decides whether your message deserves attention.
There is a professional roadmap for getting this right at home. There's also a point where doing everything yourself stops being efficient and starts becoming a drag on your momentum. Both things can be true.
A home studio can absolutely produce sharp, polished content. But every choice is a trade-off. Money versus time. Flexibility versus consistency. Convenience versus finish quality. If you want broadcast-level output, you need to make those trade-offs with your eyes open.
The DIY Content Creator's Burnout Cycle
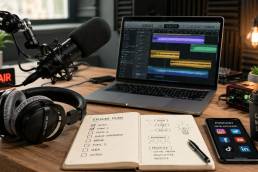
You block off a night to record. Forty minutes disappear before you say a useful word. The mic sounds different. The light looks off. A cable hum shows up for no clear reason. Instead of publishing, you spend the session fixing a room that keeps changing on you.
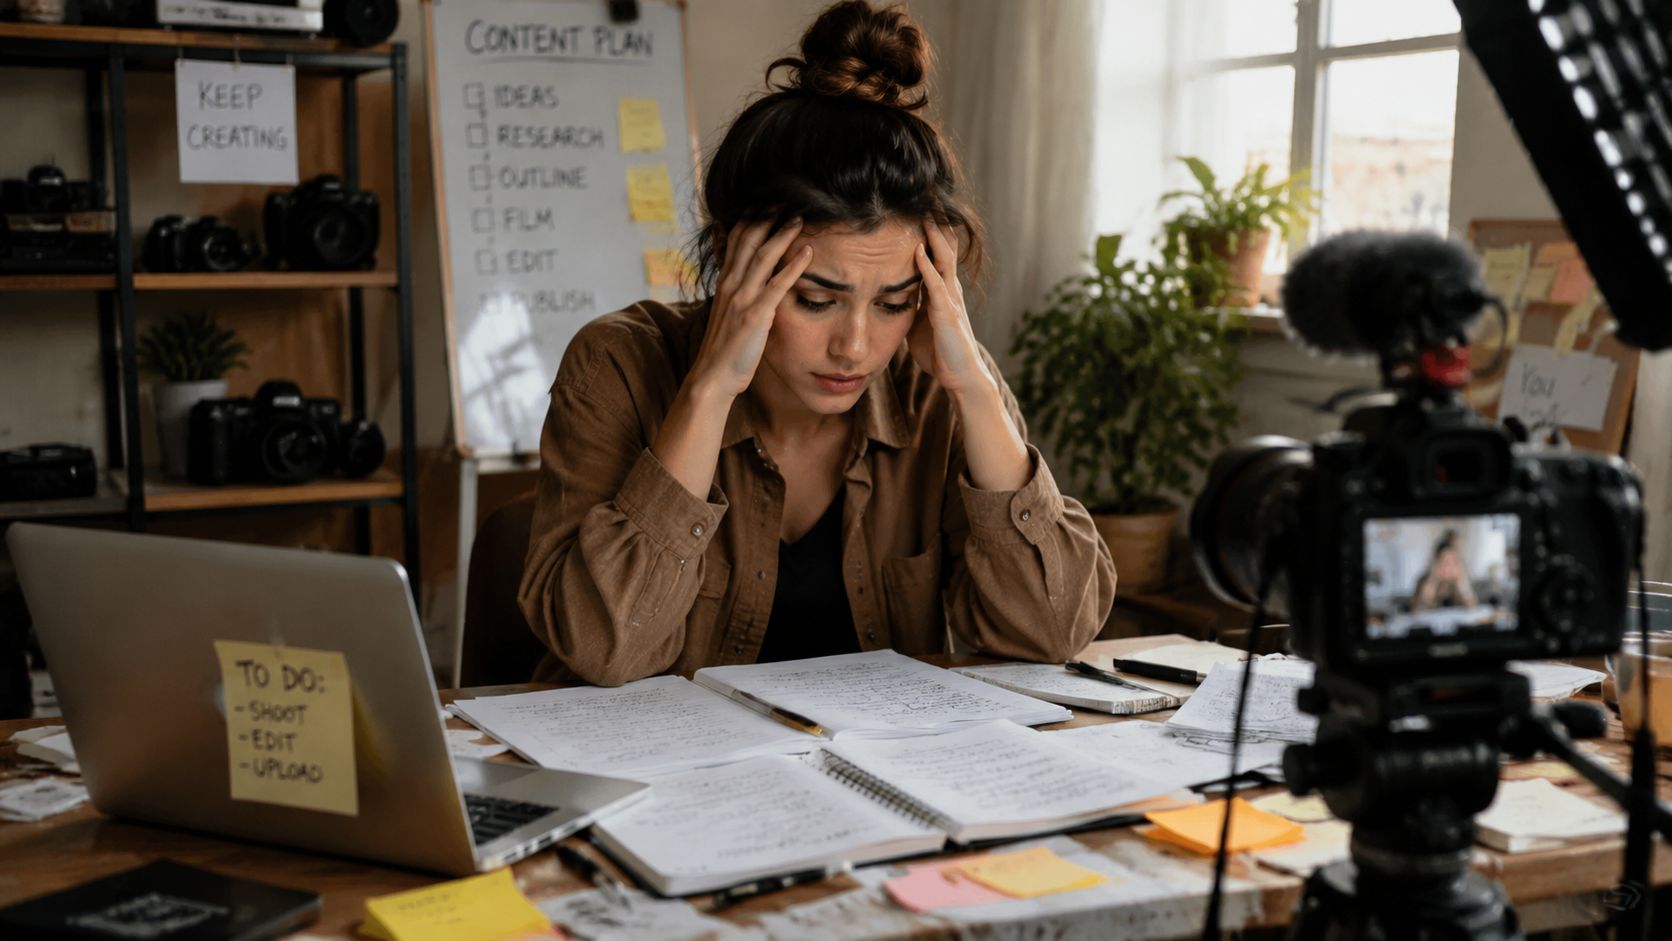
That cycle drains creators fast because it steals the hours that should go into performance, writing, and distribution. DIY studio work starts as independence. Left unchecked, it turns into a part-time technical job with very little upside.
Inconsistent quality kills confidence
A home studio breaks down the moment the room behaves differently from one session to the next. One episode sounds focused. The next sounds boxy because a chair moved, a closet door stayed open, or the mic drifted a few inches off position. You can hear the difference, even if you cannot name it right away. Your audience hears it too.
Acoustics are the first professional trade-off. You can spend more money on a prettier mic, or you can control the space and get repeatable results from the gear you already own. Serious creators choose repeatability, because consistency is what builds trust in a brand.
Practical rule: If your audio changes every time you sit down, your setup is too unstable for a serious publishing schedule.
Gear problems steal creative energy
Home recording is easier than it used to be, but easier is not the same as simple. Apple's Core Audio framework reduced a lot of the old driver headaches on Mac systems, which helped more creators get interfaces running without technical workarounds (Apple developer documentation on Core Audio). That solved one layer of friction. It did not solve gain staging, room reflections, mic technique, lighting consistency, or file management.
Those problems still land on your desk every time you record at home.
That matters because your best creative energy is finite. If you burn it on troubleshooting, you show up flatter on camera and less prepared on mic. The cost is not just time. It is weaker content.
Expensive gear won't rescue a weak foundation
Creators usually buy the visible upgrade first. New microphone. Better camera. Sharper lens. That instinct is understandable and backwards.
Start here instead:
- Treat the room before you upgrade the mic. Podnews reporting on creator production priorities points to a familiar pattern. Podcasters who improve their recording environment before chasing premium gear get more usable audio and spend less time fixing avoidable problems in post (podcasting setup and production reporting from Podnews).
- Protect the source, not just the polish. A strong idea recorded in a reflective room still sounds amateur. No plugin fixes that completely.
- Build a repeatable process. The right setup is the one you can recreate on demand, without ten minutes of second-guessing before every session.
This is the burnout trap. You started as the talent. Then you became the engineer, the lighting tech, the set designer, and the repair desk.
That trade-off makes sense early. It stops making sense when your content supports your reputation, pipeline, or revenue. At that point, every hour you sink into setup is an hour you are not using to create, sell, or grow. Creators who value their time and brand quality usually stop patching a fragile home setup and book a professional podcast studio rental that gives them a controlled environment from day one.
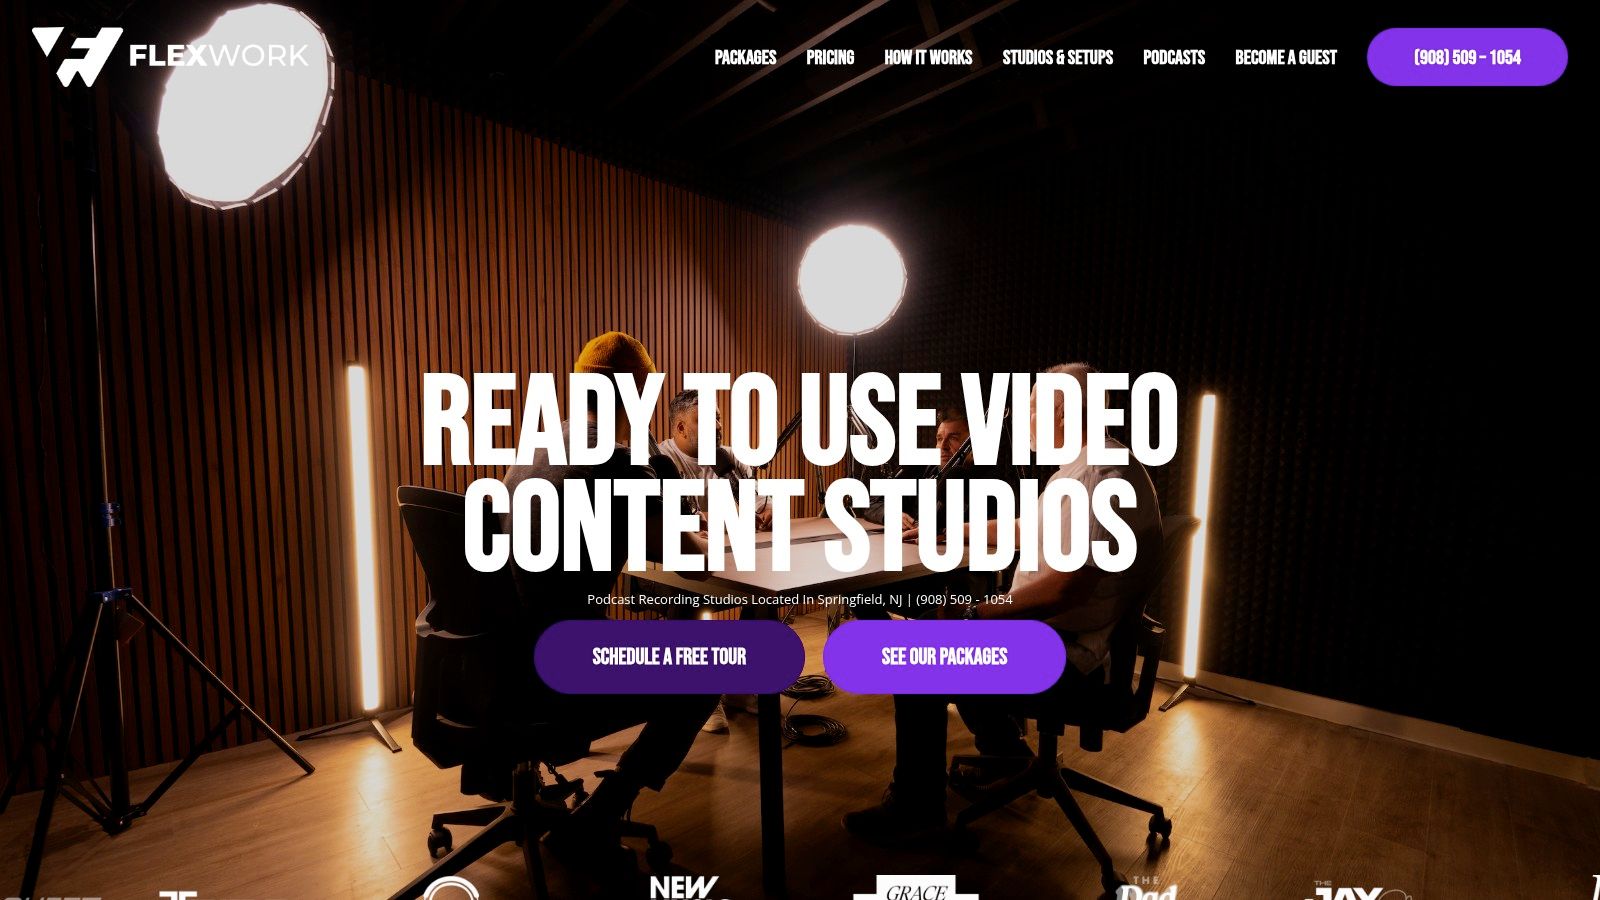
The Premium Alternative Why Pros Choose Flexwork Studios
Your time gets expensive before your gear gets good.
That is the moment serious creators stop treating studio setup like a side quest and start treating production quality like brand infrastructure. If your content brings in clients, closes partnerships, or builds authority, every hour spent fixing audio, adjusting lights, and rebuilding a recording setup is an expensive distraction.
Pros make a simple trade-off. They stop buying more friction and start buying reliability.
A podcast studio rental gives you the part DIY rarely delivers consistently. A controlled room. A proven signal chain. A visual setup that already looks on-brand. You show up ready to perform, not ready to troubleshoot.
That matters because content quality is not just a technical issue. It is a trust signal. Prospects hear room echo. Sponsors notice weak visuals. Guests feel the difference between a polished environment and a patched-together setup in a spare room. Your studio choice shapes how seriously people take your work.
What you're actually paying for
A premium studio buys back decision-making energy.
You get:
- Consistency: Episodes, interviews, and social clips start from the same strong baseline.
- Speed: Recording sessions stay focused on performance, not setup mistakes.
- Brand protection: Your output matches the level of business you want to attract.
- Stronger repurposing: Clean source material cuts faster into trailers, reels, ads, and short-form clips.
Renting a professional setup often beats owning a mediocre one, especially once you count maintenance, upgrades, storage, software, and the hours lost to trial and error.
The right package depends on the bottleneck
Some creators only need the room. Others need production support because the main problem starts after record is pressed.
Hourly rentals are the smart move if your process is solid and your home setup is what keeps letting you down. If you need help shaping the finished show, a producer-led package makes more sense. Flexwork's Be My Podcast Producer service is built for creators who want tighter pacing, sharper edits, and a final product that sounds intentional.
If you want the full engine, use the bigger offer. Flexwork's Market, Manage & Produce My Podcast package starts at $1,500 per episode with a 20-episode growth commitment, according to the Flexwork podcast production pricing page. That is not for hobbyists. It is for operators who understand that audience growth, content quality, and distribution work better as one system.
The premium move is buying output, not more tasks
Batching is where premium studio access pays for itself fastest.
Flexwork's Content Day package is listed at $3,000 per day and includes 20 edited reels or 60 professional photos, based on the Flexwork Content Day service page. That changes the math. One focused day can replace weeks of scrambling, reshoots, and half-finished content plans.
Owned media matters too. Flexwork lists podcast websites starting at $5,000 plus hosting on its podcast website design page. For creators building a real brand, that investment gives your show a home you control, not just another borrowed platform profile.
That same logic applies to your physical setup. If you are still planning your home space, start with designing your ideal workspace so you understand the trade-offs before you spend money in the wrong order.
DIY still has a place. It gives you flexibility and a lower entry cost. But once your reputation and revenue depend on your content, the smarter choice is the one that protects your time and improves what reaches the audience. That is why ambitious creators graduate from patchwork home setups to Flexwork. It gets them better content, faster, with fewer compromises.
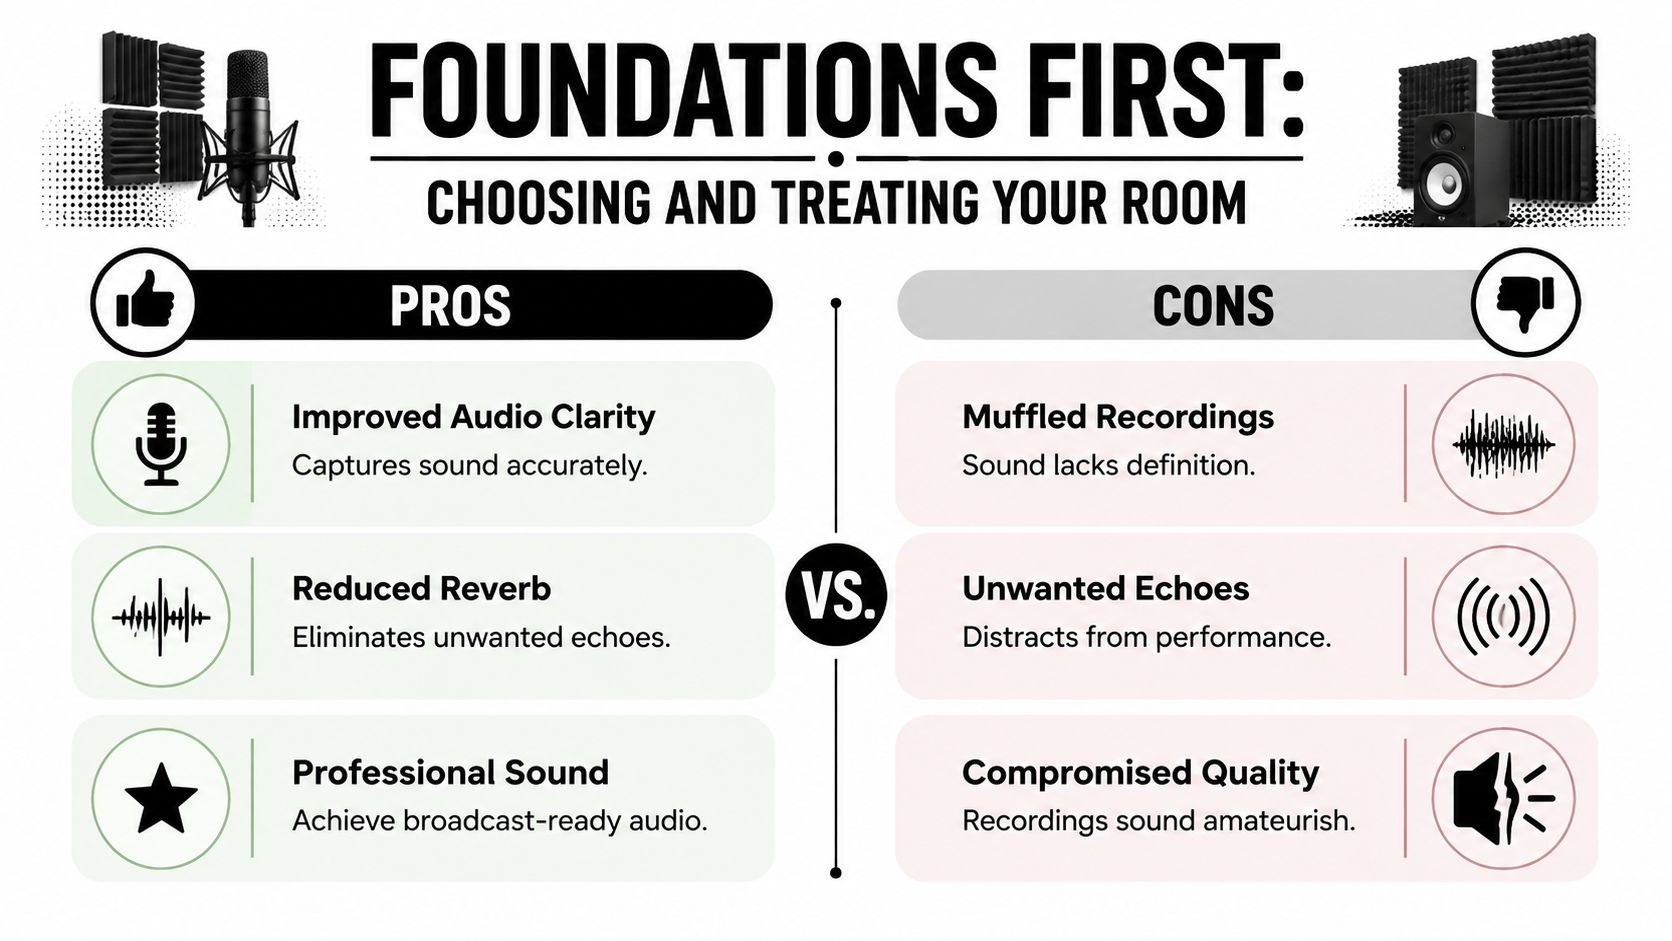
Foundations First Choosing and Treating Your Room
You clear a weekend, buy a mic, move a desk into the spare room, record your first episode, and it still sounds cheap. That result usually comes from the room, not the gear.
A home studio starts with one decision. Pick a space you can control.
Pick the best imperfect room
You are probably choosing between a spare bedroom, office, basement corner, garage, or some awkward hybrid space. Fine. Professional results do not require a perfect room. They require a smart choice and disciplined treatment.
Choose the room with the fewest acoustic problems before you spend a dollar on fixes. That saves money, shortens setup time, and gives you a cleaner starting point for every recording after that.
Prioritize these features:
- Smaller dimensions: Spoken-word content usually sounds tighter in a smaller, controlled room than in a large open area.
- Softer surfaces: Drywall, wood, rugs, curtains, and furniture absorb or break up reflections better than concrete, tile, and glass.
- Simple geometry: Rectangular rooms are easier to treat than rooms with alcoves, sloped ceilings, or strange cutouts.
- Usable layout: You need enough space for a desk, mic position, camera framing, and lights without forcing everything against reflective walls.
If you are planning before you start dragging furniture around, use a simple floor plan. The guide to designing your ideal workspace helps you map footprint, sightlines, and traffic flow before you commit to placement.
That planning matters because every bad room choice creates more work later. More treatment. More retakes. More editing. More time spent solving problems your audience should never hear.
Learn the difference between soundproofing and treatment
Creators confuse these constantly, and it leads to wasted money.
Soundproofing reduces sound entering or leaving the room. Acoustic treatment improves what your mic hears inside the room. If your goal is better voice recordings, treatment usually gives you the first real win. For a clearer breakdown, read this guide on how to soundproof a room.
You do not need a silent bunker. You need a controlled recording environment.
That means fewer reflections, less room ring, and less low-end buildup. Those are the problems that make a strong voice sound amateur and force you to over-process the recording later.
Corners matter more than creators think
The most common beginner mistake is slapping thin foam on the wall in front of the mic and calling the room treated. It looks productive. It does very little for the problem that ruins spoken audio fastest.
The main issue often sits in the corners.
Low frequencies collect there, especially in small rooms. That buildup makes recordings sound boomy, muddy, and vague. Bass traps in the corners do more useful work than decorative foam on random wall sections because they target the part of the spectrum that cheap treatment usually misses. The Audio Engineering Society explains corner-focused low-frequency treatment in its discussion of bass traps and room mode control.
Use this order:
- Treat the vertical corners first. Start with the two front corners, then add the rear corners if possible.
- Use thick, purpose-built bass traps. Thin foam is not enough for low-frequency control.
- Treat first reflection points next. Side walls and ceiling reflections affect speech clarity and stereo judgment.
This is the trade-off DIY creators need to face clearly. You can keep patching a difficult room, or you can decide your time is worth more than the experiment. If your brand depends on polished audio and repeatable output, a premium studio becomes the smarter investment fast. Flexwork solves the room, the acoustics, and the production environment in one move. That means more time creating, less time fixing.
Your Studio Gear Roadmap From Starter to Pro
Gear should match the job. Not your ego.
Too many home studio guides throw you into a shopping spiral. You don't need that. You need a clean buying path based on what content you make, how often you publish, and how much complexity you're willing to manage.
Home Studio Gear Tiers
| Tier | Budget | Microphone | Interface | Best For |
|---|---|---|---|---|
| Starter Setup | Under $500 | USB microphone | Not required at first | Solo creators recording voice content with minimal setup |
| Creator Rig | $1000-$2000 | XLR dynamic or condenser microphone | Two-channel audio interface | Podcasters, coaches, and interview formats needing more control |
| Pro-Am Build | $3000+ | Premium XLR microphone matched to your voice and room | Higher-quality interface with expansion headroom | Multi-format creators recording audio and video with repeatable quality |
The Starter Setup
This is for the creator who needs to publish now and can't afford a technical mess.
A USB mic is the right choice here because it reduces friction. Plug it in, monitor with headphones, and record directly into software like Audacity or Descript. Pair that with closed-back headphones, a basic desk stand or boom arm, and one simple video light.
This setup is best when you're recording solo commentary, short podcast episodes, coaching clips, or social-first educational content. It's not glamorous. It is efficient.
The Creator Rig
At this stage, quality and control start to feel professional.
Move to an XLR microphone and a dedicated audio interface. That gives you better gain control, better upgrade flexibility, and a cleaner path if you want to add a second person later. Add a pair of studio headphones, a stable boom arm, and basic key lighting that flatters your face without cooking the room.
If video matters, compare camera and webcam options based on real session length, overheating behavior, and image consistency. This roundup to compare webcams for long-duration live streaming is a practical place to start before you commit.
The Pro-Am Build
This is for creators building a true media asset, not just a side project.
At this level, your purchases should be deliberate. The microphone should suit your voice and room. The interface should have enough headroom for your current workflow and your next one. Your lighting should be stable, flattering, and easy to repeat. Your camera should integrate smoothly into the same footprint without turning the room into a jungle of stands and cables.
If you're weighing specific beginner-friendly gear paths, this guide to best podcast equipment for beginners helps narrow the field.
Monitors need correct placement or they lie to you
If you're using speakers to edit or mix, placement matters as much as the speakers themselves.
Professional monitor placement uses a precise equilateral triangle between the left speaker, right speaker, and your head. That geometry is the standard for minimizing phase cancellation and giving you an accurate stereo image for mixing.
Here's the simple version:
- Equal distances: Your head should be the same distance from each speaker as the speakers are from each other.
- Symmetry matters: Don't place one speaker near a wall and the other out in space.
- Avoid lazy placement: Random desk positions create false impressions about panning, balance, and low end.
If your speakers are placed badly, you won't hear the truth. And if you can't hear the truth, you can't mix cleanly.
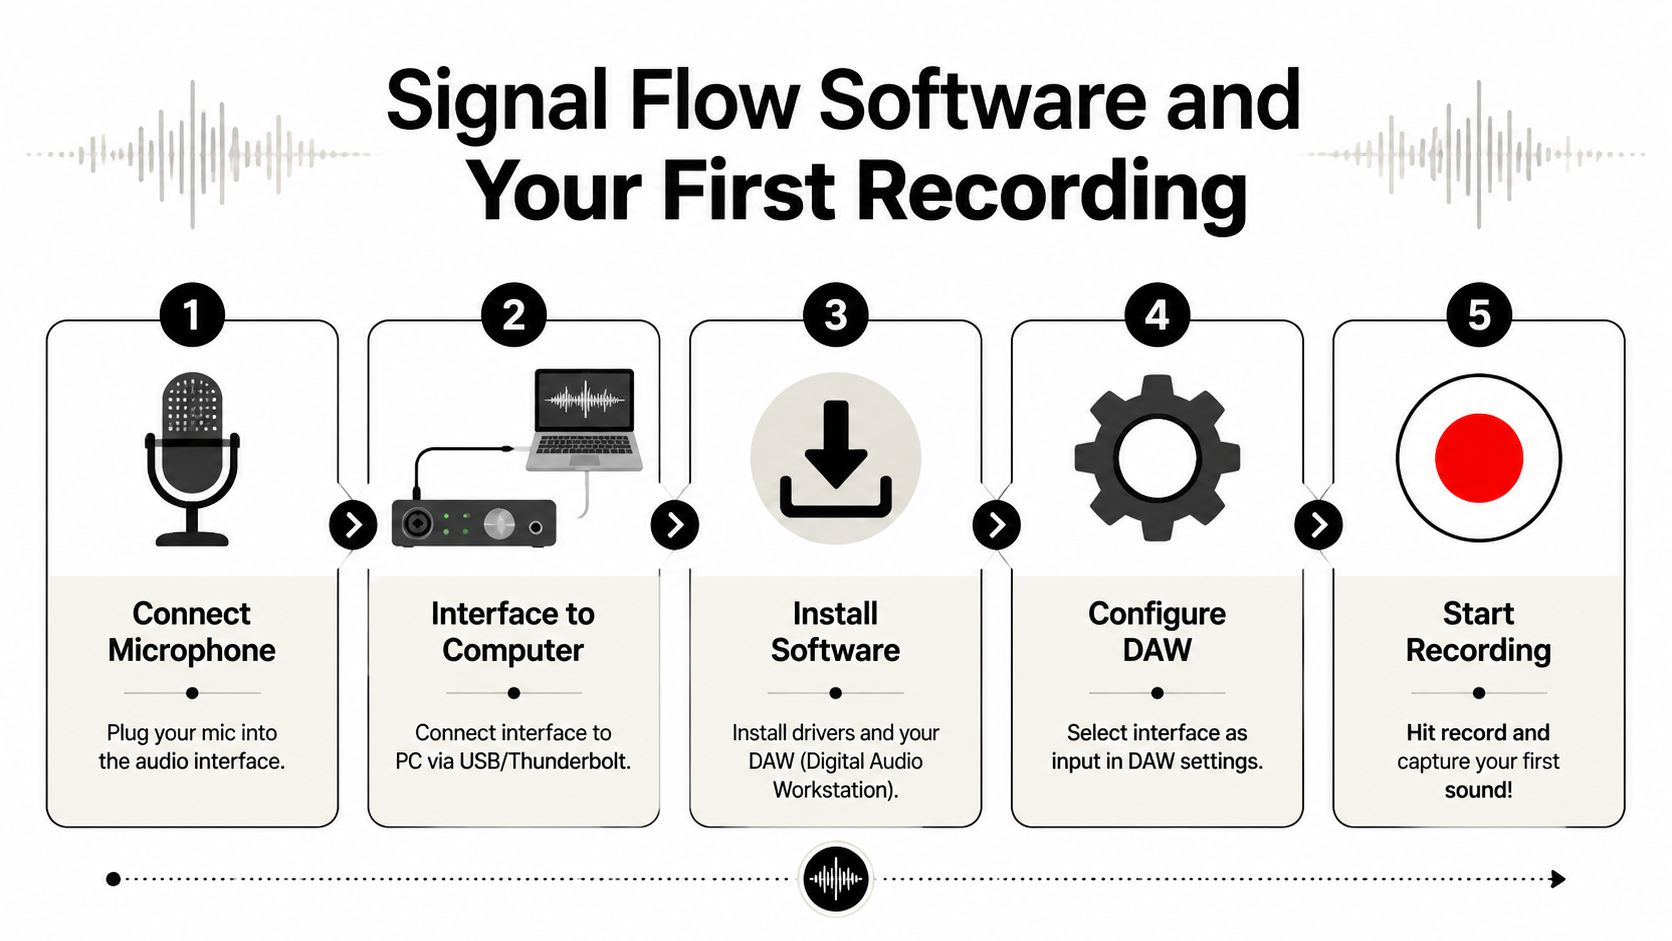
Signal Flow Software and Your First Recording
The first time you hit record should feel controlled, not chaotic. If your mic is live, your levels are clean, and your software is set correctly, you're already ahead of a huge chunk of new creators who waste their first week fighting settings instead of making content.
Mic → Interface → Computer → DAW.
That is the full path. Respect it. Every problem in a beginner setup usually lives in one of those four points, and the faster you learn to troubleshoot them in order, the faster recording becomes routine instead of a time drain.
Keep the routing boring
Clean routing protects your time.
Plug the microphone into the interface. Plug the interface into the computer. In your DAW, choose that interface for both input and output. Put on headphones and confirm you hear the signal clearly, without delay, distortion, or silence. If anything feels inconsistent, stop and fix it before you record a full take. Bad routing wastes energy fast, and inconsistent sessions make your brand look less polished than it is.
A USB microphone simplifies that chain because the mic and interface are combined. That makes it a practical starting point for creators who need speed and low setup friction. It also limits your upgrade path, which is the trade-off. That matters if you plan to grow beyond a solo desk setup.
Choose software that gets you publishing
Your first DAW should help you ship, edit, and repeat.
Audacity is a solid starting point for simple spoken-word recording. Descript works well for creators who want transcription-based editing and quick turnaround. Logic Pro and Pro Tools make sense once your workflow gets more demanding and you need deeper control.
Pick the one you will open every week. Fancy software that slows you down is a bad investment.
If you want a practical shortlist, start with this guide to free podcast editing software for beginners.
Run the same pre-flight check every time
Professionals do not rely on memory. They use a repeatable process because repeatability protects quality.
Use this before every session:
- Set input gain at real performance volume: Test at the level you will use on camera or on mic.
- Listen on headphones: Confirm the signal is clean before the take, not after.
- Do a quick clap test: You'll hear obvious echo and slapback immediately.
- Record a few seconds of room tone: Clean edits need matching silence underneath them.
- Name the file properly: Date, project, version. Do it once and do it right.
That checklist sounds basic. Basic is what scales.
Small rooms punish bad workflow
Audio and video compete for the same space. That is the part many home studio guides gloss over, and it is why so many creator setups turn into a cluttered compromise with ugly framing, noisy fans, awkward lighting, and a mic position that changes every time.
The fix is operational discipline.
Keep one repeatable footprint for your chair, mic, camera, and key light. Get cables and stands off the floor wherever possible. Pay attention to heat, because hotter rooms lead to louder cooling and louder cooling ruins audio. Leave yourself an easy path in and out of the setup so recording does not start with moving furniture around.
This is the trade-off most ambitious creators eventually face. You can spend months refining a room so every session works, or you can use a studio built for consistency from day one. Flexwork makes that decision simple for creators who value speed, polish, and brand quality. Your time is better spent recording strong content than debugging a space that was never designed to carry both production and performance.
Conclusion The Smart Creator's Next Step
A home studio can absolutely work. You now know the full investment required to do it well. The room matters. The treatment matters. The gear order matters. The workflow matters. Miss on any one of those, and your content starts looking and sounding cheaper than your brand.
That trade-off is the point.
You can spend your best hours troubleshooting acoustics, rebuilding the same setup, and fixing small production problems that keep stealing momentum. Or you can treat production like a serious business function and use a studio built to deliver consistent results every time. Serious creators protect creative energy. They do not burn it on preventable setup work.
Flexwork is the premium answer for creators who care about output, polish, and speed. You get a professional environment, repeatable quality, and support that helps your content look intentional from the first frame and first word. That is not a luxury. It is an investment in how your audience sees your brand.
If DIY still makes sense for your stage, build carefully and keep your standards high. If your brand has outgrown the hassle, book the room, get the support, and record at the level your business needs.
Review the studio tour and booking options if you are ready to create more and troubleshoot less.