
Audio Recording Studio Setup: A Pro Guide for 2026
 July 9, 202627 Minutes
Meta description: Build a smarter audio recording studio setup with pro workflow tips, room guidance, gear planning, and studio support for polished podcast audio.
URL slug: /audio-recording-studio-setup-pro-guide
A lot of promising podcasts don't have a content problem. They have an audio problem.
The host is sharp. The guest is worth listening to. The ideas are strong. Then the episode opens with room echo, uneven levels, headphone bleed, and a mic that sounds expensive but somehow still feels amateur. That gap matters because listeners decide fast whether your show feels trustworthy, polished, and worth returning to.
A strong audio recording studio setup isn't just a shopping list. It's a workflow. It starts with the room, moves through the signal chain, and ends with repeatable recording habits that protect quality every time you hit record. If you're building a show in the NJ and NYC orbit and you want a more strategic foundation, Flexwork's guide on how to start a podcast from scratch is a useful companion to what follows.
From Good Ideas to Great Audio
A new podcaster usually starts in the same place. Laptop open. USB mic on the desk. Big plans for interviews, clips, guest outreach, and a show that finally reflects their voice. Then they record a test episode and hear the room before they hear themselves.
That's when the core work begins. Good audio doesn't come from luck, and it doesn't come from buying one flashy piece of gear. It comes from thinking like a producer. Producers ask different questions. Where is the sound bouncing? What's the mic hearing? What part of the process is introducing friction before the conversation even starts?
Practical rule: If your recording process feels fragile, your results will sound fragile too.
The payoff is bigger than cleaner sound. Better audio makes your message easier to trust. It gives interviews more weight, solo episodes more presence, and branded content a level of polish that matches the ambition behind it.
Master Your Space Before Your Microphone
A beginner can record on a modest mic in a controlled room and sound credible fast. Put an expensive mic in a reflective spare bedroom, and it will capture every hard surface, HVAC rumble, and hollow bounce with painful honesty.
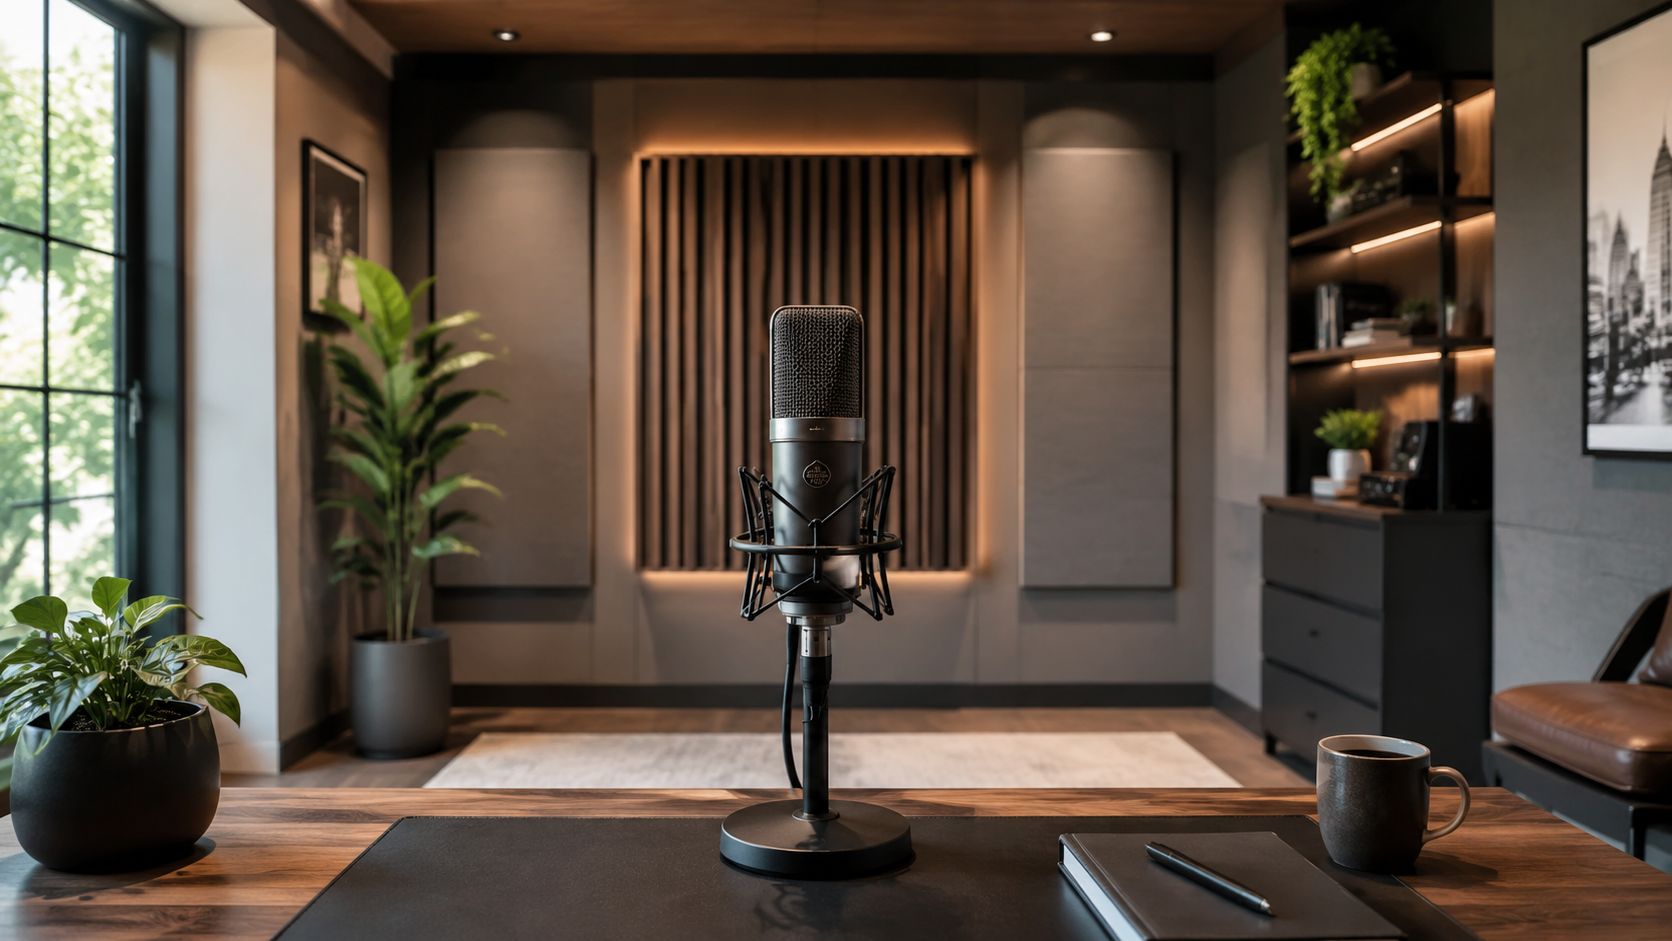
That is why producers start with the room. Gear only amplifies the decisions around it.
Your voice reaches the microphone directly, then reaches it again after hitting walls, windows, the desk, and the ceiling. Those reflections blur consonants, smear tone, and make a smart script sound underproduced. New podcasters often blame the microphone first. In practice, the room causes the bigger problem.
Flexwork breaks down the difference well in its guide on how to soundproof a room for flawless audio. Soundproofing reduces sound entering or leaving the room. Acoustic treatment improves the sound inside the room so the mic hears more voice and less space.
Control the first problems first
Early reflections usually do the most damage per dollar spent. WhisperRoom advises treating reflection points on walls and ceilings and using bass traps in corners in its guide to essential recording studio equipment. For a podcaster, that means fixing the surfaces closest to the mic position before shopping for upgrades.
The audible result is straightforward. Words become easier to follow. Plosives and sibilance feel less harsh. Your voice sits closer to the listener instead of floating around the room.
Start with the surfaces that send sound back fastest:
- Side walls near the recording position: Place absorption where your voice is likely to bounce back toward the microphone.
- Corners: Low frequencies gather there, which is why untreated rooms often sound muddy or uneven.
- Desk, floor, and glass: A rug, a desk mat, heavier curtains, or repositioning away from a window can clean up obvious reflections.
- Door gaps and vents: These do not affect room tone the same way treatment does, but they can raise the noise floor enough to ruin an otherwise solid take.
For creators building a home office that also serves as a studio, room planning often overlaps with broader technical design. Teams handling integrating AV systems for new office fit-outs already understand the core principle: the room and the system have to be designed together.
DIY treatment has a ceiling
Panels help. Foam can help a little. Layout changes help more than many people expect.
But treatment does not change the dimensions of the room, and it does not automatically fix low-end problems. Small rectangular rooms often produce standing waves, where some notes build up and others disappear depending on where you sit or speak. Neumann notes in its article on acoustic requirements for recording and mixing that broadband absorbers need real depth to work well on low frequencies. Thin foam may cut a bit of flutter echo, but it will not give you stable bass control.
I see this mistake all the time. A creator buys a respected mic, adds a few foam squares, and expects broadcast tone. The result is usually a room that sounds slightly dull but still uncontrolled.
A room with less echo is not always a room that records accurately.
If you want a visual walkthrough of room-first thinking, this short video helps ground the basics before you buy more gear.
Run a producer-style room audit
Before buying anything else, test the room you already have.
- Record a short voice memo and clap once. A metallic ring or quick flutter points to reflective surfaces that need treatment.
- Read the same paragraph in two positions. Stand once, then sit at the desk. If the tone changes a lot, furniture and surface reflections are affecting the mic.
- Move closer to soft materials. A couch, curtain, or packed bookshelf can tell you quickly whether absorption is the missing piece.
- Check the noise floor on headphones. Listen for HVAC, street noise, computer fans, and room hiss between words.
- Do one test with the mic closer to your mouth. Better source-to-room ratio often improves clarity more than a gear upgrade.
This workflow matters more than another shopping list. It teaches you how producers diagnose problems. Once you can hear what the room is doing, every later decision gets easier.
To bypass months of trial and error, professional help pays for itself. Flexwork can assess the room, the recording workflow, and the weak points in the chain so you improve the elements that change what the audience hears.
Building Your Professional Signal Chain
A clean signal chain does one job. It gets your voice from the mic to the final file with as little damage, noise, and guesswork as possible.
New podcasters often treat this stage like a gear hunt. Producers treat it like a workflow. That difference matters. A strong chain makes setup faster, gain staging easier, retakes rarer, and editing less painful. It also makes every future upgrade easier to judge because you can hear what changed.
Budget for the full path, not a hero purchase
The usual mistake is obvious in the first session. Someone buys an expensive microphone, plugs it into an entry-level chain, monitors on weak headphones, and wonders why the recording still sounds small or harsh.
A better approach is to spread the budget across the entire path. Put most of it into the hardware that touches the signal first, leave room for software you will use, and keep some budget for the practical fixes that reduce friction during recording.
Here's a simple planning guardrail.
| Budget Tier | Total Budget | Hardware | Software | Room Treatment |
|---|---|---|---|---|
| Starter | $1,000 | $700 | $200 | $100 |
| Prosumer | $3,000 | $2,100 | $600 | $300 |
| Professional | $6,000 | $4,200 | $1,200 | $600 |
Use the table as a planning tool, not a shopping mandate. The point is balance. A polished podcast usually comes from several solid decisions working together, not one flashy purchase.
Build around the work you do every week
The right setup depends on session format, guest count, release schedule, and how much editing you can realistically handle.
Starter setup
This tier fits solo shows, simple remote interviews, and creators proving they can publish consistently.
- Microphone: A cardioid mic helps keep room spill under control and gives a forgiving starting point for untreated spaces.
- Interface: Two inputs cover a solo host and one guest without adding routing complexity you do not need yet.
- Monitoring: Closed-back headphones let you catch plosives, clipping, and background noise while recording.
- Storage: External storage keeps raw sessions, exports, and backups from piling up on the same machine that runs the DAW.
The trade-off at this level is speed versus flexibility. Keep the system simple enough that you can start recording in minutes.
Prosumer setup
A show takes on a deliberate sound. You may be cutting social clips, recording in batches, or bringing in recurring guests who expect the process to run smoothly.
At this stage, cleaner preamps, more dependable monitoring, and session templates start saving real time. The gains are not only sonic. They show up in fewer ruined takes, faster handoffs, and less fatigue during long edit days. If your studio also supports a team environment, integrating AV systems for new office fit-outs is a useful reference for planning audio inside a broader production space.
Professional setup
Professional setups support repeatable output. Multiple hosts. In-person guests. Video capture. Fast turnaround.
Consistency becomes a significant advantage. Better routing, better monitoring, and fewer points of failure lead to calmer sessions. Calm sessions usually produce better performances, better interviews, and fewer pickups.
A professional signal chain removes uncertainty between the idea and the finished episode.
What actually belongs in the chain
Every piece has a job, and each job affects the next one.
- Computer: Runs the DAW, plugins, backups, and export workflow.
- Audio interface: Converts the analog microphone signal into digital audio your software can record.
- Microphone and XLR cable: Capture starts here. A noisy cable or poor mic choice can waste the rest of the chain.
- Headphones and speakers: Headphones help during tracking. Speakers help with editing decisions if the room can support them.
- Stands, pop filters, and file storage: Small tools become important fast when they prevent bad mic position, plosives, or lost sessions.
Microphone choice gets a lot of attention, but it only makes sense inside the full system. If you are comparing models, Flexwork's guide to the best microphone for podcast recording gives a solid starting point.
I usually advise creators to test the chain in order. Record 30 seconds. Check gain. Listen for noise. Adjust mic position. Record again. That habit teaches you more than another hour of browsing reviews.
And if the goal is broadcast-quality sound on a deadline, Flexwork can build and tune the chain around your actual workflow, not a generic gear list.
The DIY Ceiling vs The Professional Accelerator
DIY has a real appeal. You control the schedule. You learn useful skills. You avoid the friction of coordinating with outside help. For many creators, it's the right starting point.
But DIY has a ceiling. It shows up when every session begins with troubleshooting. One day it's a ground hum. The next day the room sounds different because you moved the desk. Then your guest is ready, your outline is strong, and you spend the first twenty minutes adjusting gain and fixing headphone routing instead of directing the conversation.
The broader recording market hints at why specialized roles still matter. The professional recording industry in the USA employs approximately 38,500 people, reflecting the scale of work built around studio operations and sound engineering, according to recording studio industry statistics. That doesn't mean every podcaster needs a full production team. It does mean there's a reason experienced engineers, editors, and producers still exist.
What the professional route changes
The biggest upgrade isn't just sound. It's focus.
- Hourly studio rentals remove setup friction. You arrive to record, not to build the room every time.
- Producer support helps with mic placement, levels, pacing, and session flow while you stay present as the host.
- Editing and post-production clean up the parts that diminish perceived quality, from uneven levels to pacing issues.
- Content planning turns one recording block into a usable library of episodes, clips, stills, and marketing assets.
For creators who want a side-by-side comparison before deciding, this breakdown of studio vs DIY podcasting and what you gain by going pro is worth reading.
When support becomes the smarter buy
There's a point where buying more gear is slower and more expensive than buying expertise.
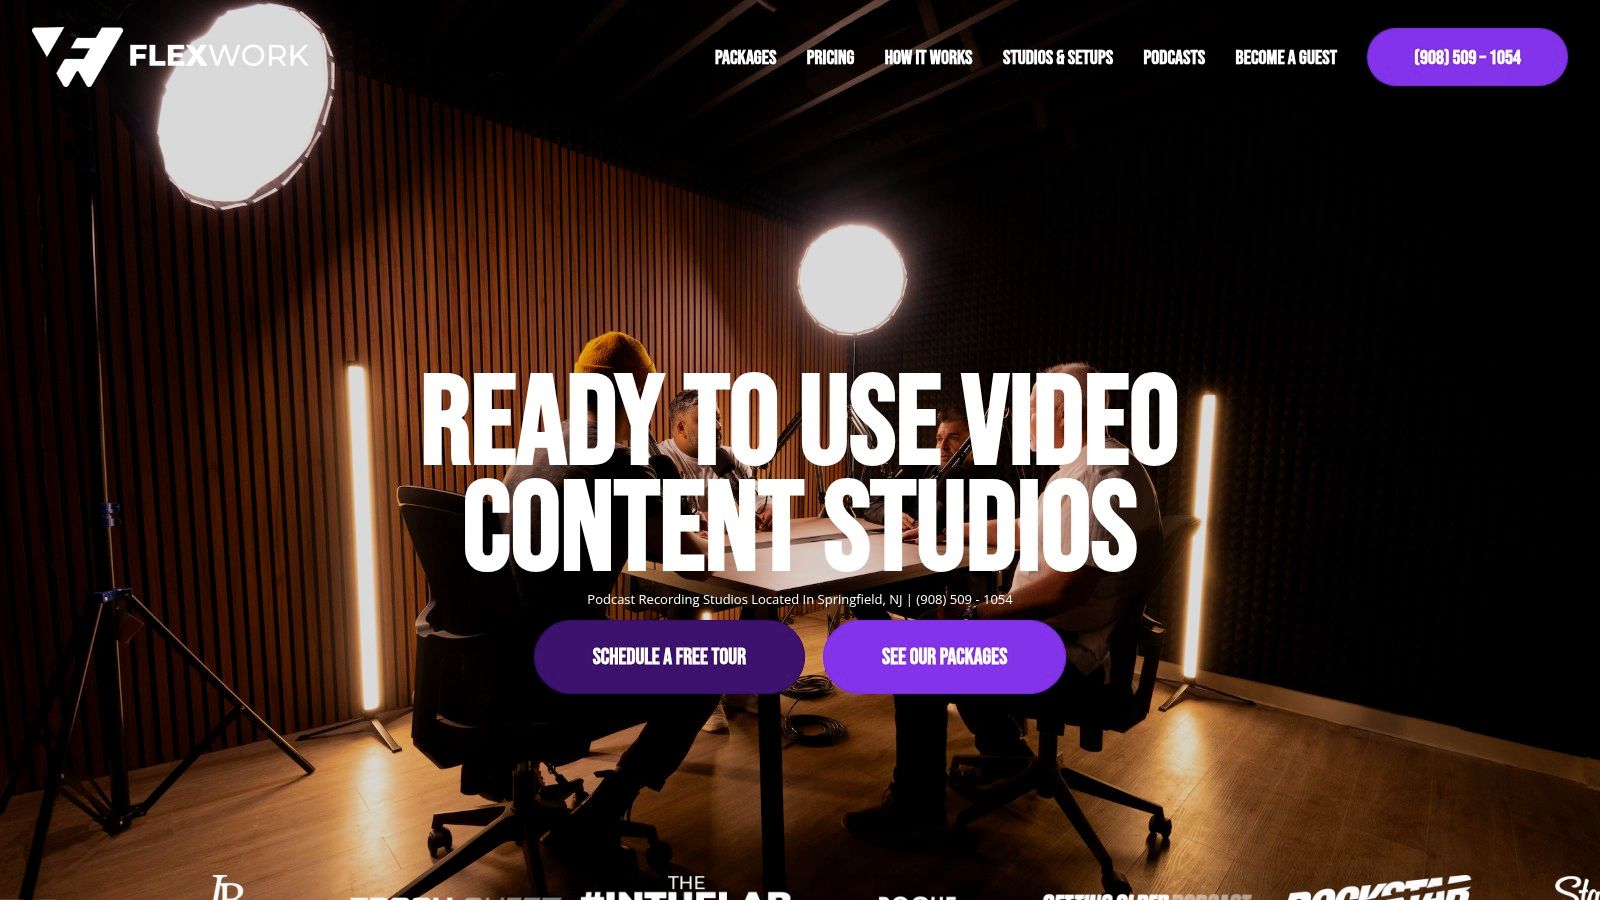
Flexwork Podcast Studios is one option in New Jersey for creators who want acoustically treated rooms, studio rentals, production support, Content Day sessions, and podcast website builds without assembling every piece themselves. For teams pushing audience growth more aggressively, the Market, Manage & Produce My Podcast tier starts at $1500 per episode with a 20-episode growth commitment. Content Days are $3000 per day and include 20 edited reels or 60 pro photos. Podcast websites are $5000 plus hosting.
Reality check: If your recording system keeps stealing energy from the conversation, the system is costing more than it looks.
That's the professional accelerator. It shortens the path from “I can probably make this work” to “this is ready to publish.”
Your First Recording Session Checklist
The smartest first session is boring in the right ways. Nothing surprises you. The gear powers on. The DAW sees the interface. The mic is placed correctly. The host sounds present. The file saves where it should. That kind of smooth session doesn't happen by accident. It comes from a repeatable checklist.
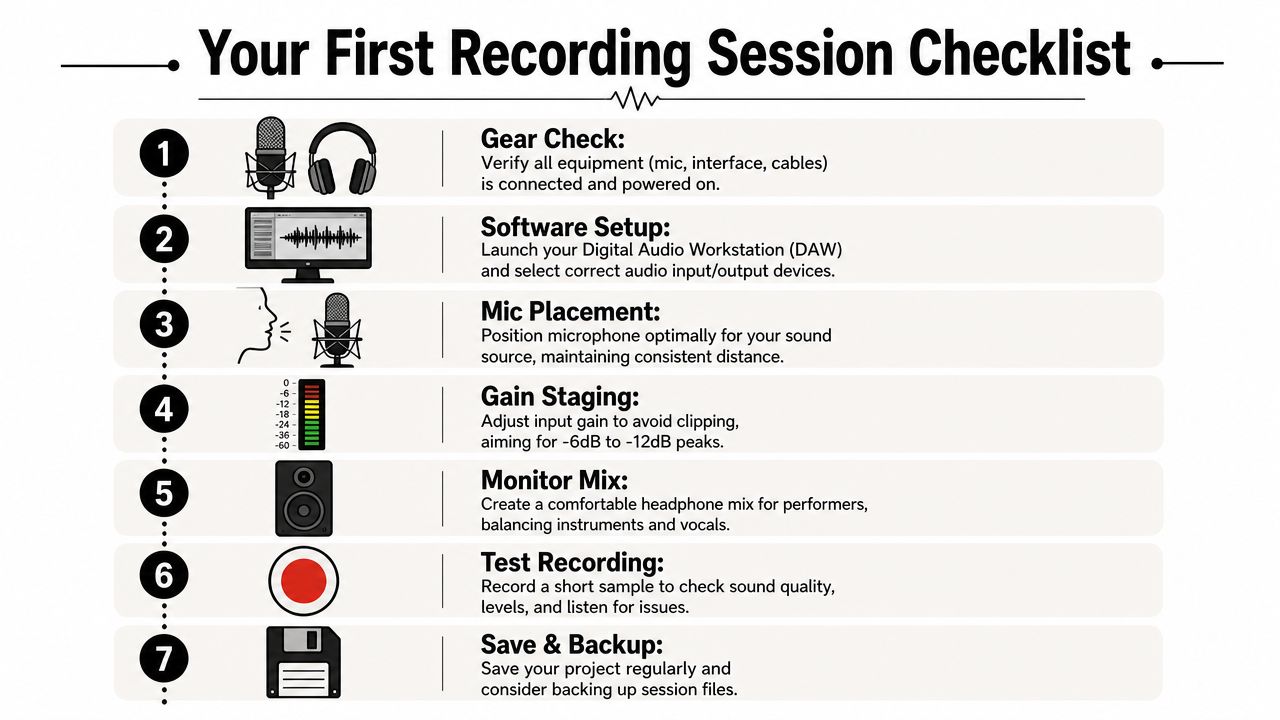
If you want a ready-made room before you build your own routine, Flexwork's podcast studio rental page shows what a prepared recording environment can remove from your setup burden.
The signal flow you should see in your head
Your recording chain should feel simple enough to sketch from memory:
Voice → Microphone → XLR cable → Audio interface → Computer and DAW → Headphones or monitors
Every problem usually lives at one point in that path. No signal? Check the mic and cable path first. Distortion? Check gain staging. Delay in headphones? Check the interface monitoring settings or DAW buffer behavior.
The mic and gain settings that matter
For vocals, Audient notes that a large-diaphragm condenser microphone with a cardioid polar pattern is the industry standard, with optimal positioning at 6–12 inches from the source and interface input gain set between -12 dB and -6 dB to prevent clipping in its tutorial on building a home studio on a budget.
That guidance gives you a stable starting point. Close enough for presence. Far enough for control. Strong enough input level to keep detail. Safe enough headroom to avoid ruining a take.
Pre-flight safety check
Run this before every recording, even if the setup never moves.
- Check the cable path: Confirm the microphone is connected with XLR, the interface is powered, and headphones are plugged into the right output.
- Confirm the DAW device settings: Make sure the selected input and output match your interface, not the computer's built-in mic or speakers.
- Test the mic distance: Sit or stand where you'll perform. If your mouth keeps drifting, reposition the stand before recording.
- Set gain with real speech: Don't whisper “check one two.” Speak at full episode energy and watch your peaks.
- Listen for the room: Record a short sample and stop talking. HVAC noise, traffic, chair squeaks, and computer fans often reveal themselves in the silence.
- Create a file plan: Name the project clearly and decide where the session and backup will live before you start.
Your test recording should answer one question only. “Would I publish this sound if the performance is great?”
Recording workflow that protects quality
Once the system is ready, the workflow matters more than most new hosts expect.
Record a short rehearsal take
Use your intro or the first answer to an actual question. Rehearsal reveals pacing, plosives, and mouth noise better than generic level checks.Adjust performance before gear
If the voice sounds thin, ask whether the speaker moved off-axis or too far from the microphone before changing EQ or buying another mic.Keep the distance consistent
Most amateur recordings don't fail because the mic is bad. They fail because the host drifts in and out of the sweet spot all episode.Use a pop filter and stable stand position
This is basic, but skipping it creates avoidable cleanup work. Better capture always beats rescue editing.Monitor with purpose
You're listening for clipping, mouth noise, plosives, room tone, and headphone bleed. Don't obsess over sounding “radio-ready” in the headphones. Focus on whether the raw take is clean.Save and back up immediately after the take
Endurance matters in production. A lost session wipes out momentum faster than any technical imperfection.
Common mistakes in the first hour
A first recording session usually breaks down in familiar ways:
- The host sits too far from the mic: Presence disappears, and room sound takes over.
- The gain is too cautious or too hot: Weak recordings bring noise forward later. Hot recordings clip and can't be repaired cleanly.
- The guest audio gets less attention: Hosts monitor themselves closely, then realize too late that the remote guest or second mic wasn't checked properly.
- The desk becomes part of the sound: Reflections from hard surfaces can make a voice feel boxy or sharp.
- The producer mindset never arrives: New creators keep thinking like shoppers when they need to think like directors of a session.
A better first-session standard
Aim for a session that is clean, repeatable, and easy to edit. Not perfect. Clean.
That means your files are organized, your levels have headroom, your mic placement is intentional, and your room isn't fighting you. If you can get those pieces right, editing becomes refinement instead of damage control.
Your Path to Broadcast-Quality Content
Professional audio is a system. The room supports the voice. The signal chain captures it cleanly. The workflow protects consistency. That's why a strong audio recording studio setup feels less like gear collecting and more like decision-making with taste.
Small choices create the big shift. A treated reflection point. A sensible budget split. A microphone placed with intention instead of guesswork. Berklee's guidance adds one more move worth remembering: when using a cardioid microphone, place the rear of the mic toward the worst spot in the room, typically a reflective wall, so the mic's natural rejection helps reduce unwanted room noise in its article on building a home studio.
If you're recording often, quality compounds. So do mistakes. That's why serious creators benefit from standards, templates, and strong post workflow. Flexwork's guide to post-production best practices for podcast episodes is a useful next step if you want the handoff from recording to edit to feel as intentional as the session itself.
Your voice deserves more than “good enough” audio. Your guests do too. When the sound is right, listeners stop noticing the production and start trusting the message.
If you're ready to stop troubleshooting and start creating, book time with Flexwork Podcast Studios. Tour the Springfield, NJ space, explore studio rentals, or ask about producer support, Content Days, and podcast growth packages that help your show sound polished from day one.