Elevate Your Brand with a Home Podcasting Studio
You’ve decided to launch a podcast—a powerful move for any modern creative or entrepreneur. Building a home podcasting studio is more than just a technical exercise; it's about creating a dedicated space where your voice is clear, your brand is sharp, and your message connects without compromise. But many aspiring creators jump into a DIY setup only to find themselves battling distracting echoes, frustrating tech glitches, and inconsistent quality that undermines their professional image. This guide provides a blueprint for creating a polished home setup and, crucially, shows you when it’s time to partner with a professional studio like Flexwork Studios to elevate your content from a passion project to a premium media brand.
The Vision for Your Creative Space
The appeal of a home podcasting studio is undeniable. It offers complete convenience and creative control, allowing you to record whenever inspiration strikes. For ambitious podcasters, this is the ideal starting point—a low-pressure environment to discover your unique voice, build an initial audience, and refine your craft.
However, transforming a spare room into a broadcast-quality booth requires more than just high-end gear. The process is a strategic balance between your vision and practical execution. A truly effective home studio is built on smart decisions that prioritize sound quality above all else. Before you invest in equipment, your primary objective is to optimize your recording environment.
This means mastering acoustics, eliminating background noise, and establishing an efficient workflow that supports creativity, not hinders it. If you're just beginning, this a comprehensive guide to starting a podcast offers a valuable overview.
Key Goals for Your Home Studio
Your mission is to create a space that delivers clean, professional audio consistently. This doesn’t require a Hollywood budget, just a strategic plan.
Here's what to aim for:
- Acoustic Control: This is the foundation of professional sound. Taming reverb and echo ensures your voice remains the clear focus, separating amateur recordings from polished productions.
- Technical Reliability: Choose simple, dependable gear. The best setups are those you can trust to work flawlessly, especially during a critical interview or creative breakthrough.
- Ergonomic Workflow: Design a comfortable and intuitive space. Your focus should be on your content, not on navigating cable clutter or technical settings. A smart layout fosters creative flow.
A foundational principle: a basic microphone in a well-treated room will always outperform a $1,000 mic in a bare, echoey space. Your room is your most important instrument.
Ultimately, your studio is a tool to amplify your creative vision. As you build it, consider your long-term goals. Are you exploring a creative outlet, or are you building a media brand? Your answer will shape every decision, from the microphone you choose today to when you decide it's time to level up to a professional production environment.
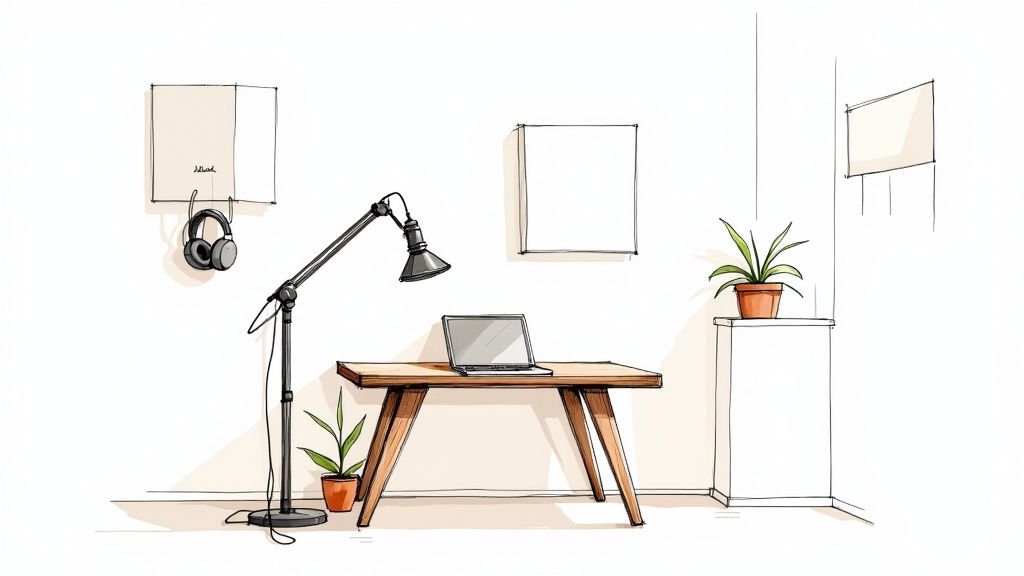
Mastering Your Recording Environment
Let's establish a core truth: your room is the most important instrument you own. Before you consider any microphone, understand that the single greatest upgrade to your podcast's sound quality comes from controlling your recording space. This is the bedrock that distinguishes muddy, amateur audio from the crisp, professional quality your brand deserves.
Many creators mistakenly believe a high-end mic is a magic bullet. It's not. A $1,000 microphone in a room with bare walls, hardwood floors, and large windows will sound hollow and unprofessional. Conversely, a budget-friendly mic in a well-treated room can produce outstanding results. Your first job isn't to capture sound; it's to control it.
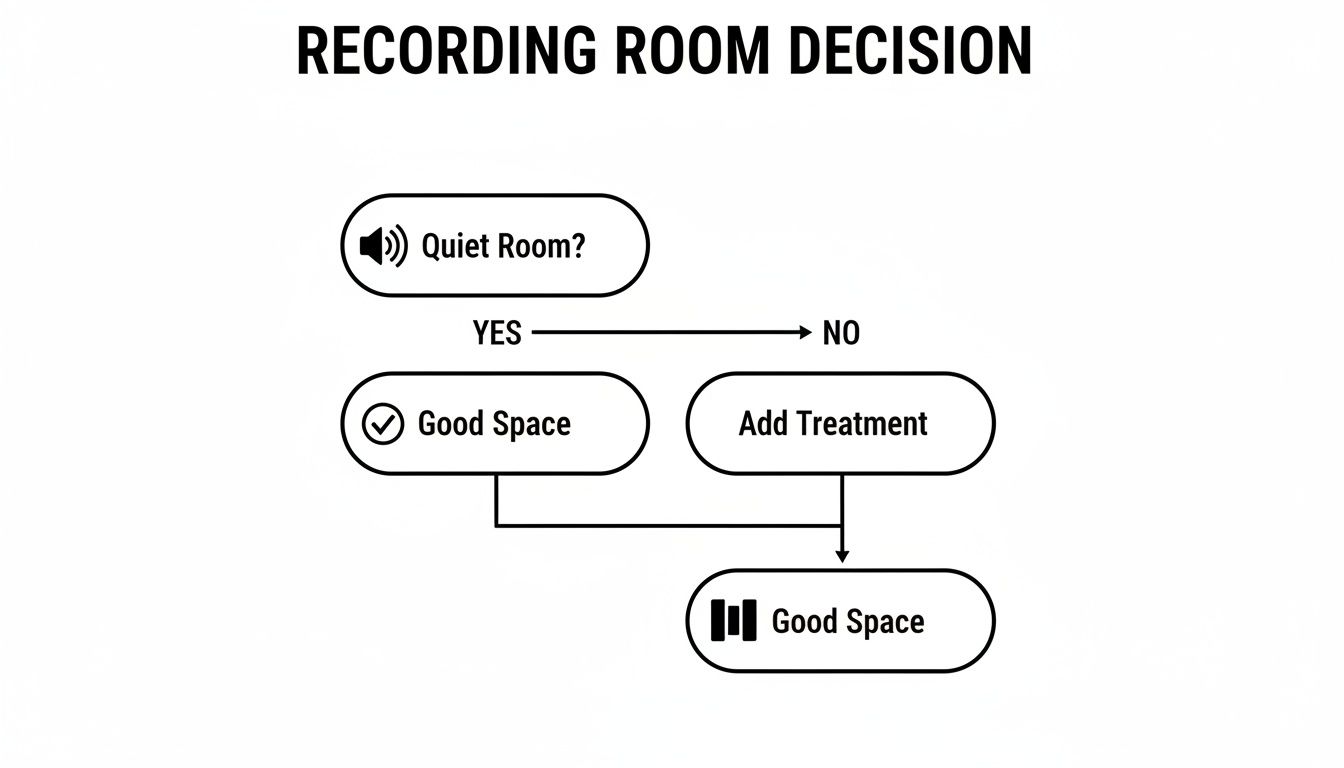
Finding Your Ideal Recording Space
Begin by analyzing potential rooms. Stand in the center and give a single, loud clap. A sharp, metallic ringing indicates flutter echo—a primary audio problem. If the clap's sound lingers, that’s reverb. Your goal is to minimize both.
Look for a space with these inherent advantages:
- Abundant Soft Surfaces: Carpets, rugs, curtains, couches, and loaded bookshelves are your best assets. They act as natural sound absorbers, preventing sound waves from bouncing uncontrollably.
- Irregular Shapes: A perfect cube is an acoustic challenge. Rooms with alcoves, sloped ceilings, or asymmetrical layouts naturally break up sound reflections.
- Quiet and Secluded: This seems obvious, but it is critical. Close the door and listen for ambient noise—the hum of an air conditioner, kitchen appliances, or outside traffic. Your microphone will capture everything, so choose the quietest location available.
A walk-in closet filled with clothes is the secret weapon of many home-based creators. It functions as a pre-treated vocal booth, with the fabric absorbing reflections to deliver a tight, focused sound.
Once you’ve selected your space, you can strategically enhance it. To see how these principles are applied professionally, take an insider’s look at what makes a great podcast studio and discover the science behind exceptional audio.
Practical Acoustic Treatment Strategies
It’s important to distinguish acoustic treatment from soundproofing. Soundproofing blocks external noise, while treatment controls the sound inside the room. Your goal is to prevent your voice from reflecting off surfaces and back into your microphone. Fortunately, effective results are achievable through both DIY solutions and strategic purchases.
Learning how to effectively reduce background noise in your microphone audio is a two-part process: first, control your environment, and second, refine your recording technique.
Before investing, understand your options.
DIY vs Professional Acoustic Treatment
| Treatment Type | DIY Solution (Example) | Professional Solution | Effectiveness & Use Case |
|---|---|---|---|
| High Frequencies | Hanging heavy blankets or duvets on walls | Acoustic Foam Panels | Excellent for eliminating flutter echo and "bathroom" reverb. DIY is cost-effective; pro panels offer a cleaner aesthetic. |
| Mid Frequencies | Placing bookshelves filled with books against a wall | Fabric-Wrapped Fiberglass Panels | Books serve as effective diffusers and absorbers. Professional panels are more targeted and efficient for their size. |
| Low Frequencies | Pushing couches or thick cushions into room corners | Bass Traps | Tames the boomy, muddy bass that accumulates in corners. Bass traps are crucial for a balanced, clear vocal tone. |
| Vocal Reflection | Recording in a closet or using a portable vocal shield | A Dedicated Vocal Booth | Directly isolates your microphone from the room's acoustics, providing the cleanest possible recording for post-production. |
To begin, focus on "first reflection points." Sit where you'll be recording and have a friend slide a mirror along the walls and ceiling. Any point where you can see the microphone in the mirror is a primary reflection point. Treat these areas first.
By optimizing your environment from the start, you lay the most critical foundation for your home podcasting studio.
Choosing Your Podcasting Gear Wisely
Navigating the world of audio equipment can feel overwhelming, but the goal is simple: find reliable tools that support your creative process. Professional-grade audio isn’t about owning the most expensive microphone; it’s about a setup that works seamlessly, allowing your voice and content to take center stage. Nothing undermines a compelling interview faster than crackling, distorted audio. The right gear simply fades into the background.
We'll categorize the essentials into three tiers—Beginner, Intermediate, and Pro—to help you invest wisely based on your current needs and future ambitions. This approach ensures you build a solid recording setup for your home podcasting studio that delivers clean, professional sound from your very first episode.
The Great Debate: USB vs. XLR Microphones
The first major decision for any new podcaster is choosing between a USB and an XLR microphone.
A USB microphone is the definition of "plug and play." It connects directly to your computer's USB port, requires no additional hardware, and is ideal for solo hosts seeking simplicity and speed.
An XLR microphone is the professional standard, using the robust three-pin connector found in recording studios. It requires an audio interface to connect to your computer. This setup delivers superior sound quality, greater control, and the flexibility to add more microphones for guests. While it's a larger initial investment, it's the necessary path for serious podcasters focused on growth.
The takeaway: A high-quality USB mic is an excellent starting point. However, when you’re ready to treat your podcast as a business and demand professional control over your sound, it's time to graduate to an XLR setup.
Your First Big Upgrade: The Audio Interface
For those choosing the XLR route, an audio interface is essential. This device acts as a bridge, converting your microphone's analog signal into a digital format your computer can understand.
The true advantage lies in the preamps—small amplifiers that boost the microphone's signal, resulting in a cleaner, stronger, and more detailed recording than a USB mic can achieve alone.
Models like the Focusrite Scarlett 2i2 are industry benchmarks for their reliability, excellent sound, and dual inputs for hosting guests. It's the single piece of gear that elevates a home setup into a genuine home studio.
Before plugging anything in, however, remember your room is your most critical instrument.
This foundational truth remains: a quiet, acoustically treated room is necessary for any piece of gear to perform optimally.
Gear Recommendations for Every Level
Your equipment should align with your ambitions. Overspending on gear you don't need is inefficient, but budget tools can limit your growth. The industry's rapid expansion confirms that listeners are actively seeking high-quality content, making strategic investments in gear a smart business decision.
Here are field-tested recommendations that deliver exceptional value.
Beginner Tier (Under $150)
- Microphone: Samson Q2U. This dynamic microphone is a workhorse, offering both USB and XLR outputs for a built-in upgrade path. It excels at rejecting room noise, making it perfect for untreated spaces.
- Headphones: Any pair of wired headphones or earbuds. The key is wired; Bluetooth introduces latency that makes monitoring your voice in real-time difficult.
Intermediate Tier ($300–$500)
- Microphone: Rode PodMic or Shure MV7. These are purpose-built for broadcast vocals. The XLR-only PodMic delivers a classic radio tone, while the MV7 offers both USB and XLR connectivity for maximum flexibility.
- Audio Interface: Focusrite Scarlett 2i2. A best-seller for its reliability, pristine sound, and two high-quality inputs.
- Headphones: Audio-Technica ATH-M20x. These closed-back studio headphones effectively isolate sound, preventing audio from your headphones from bleeding into the microphone.
For a deeper analysis of vocal microphones, explore our guide on choosing the best microphone for podcast recording.
Pro Tier ($1000+)
- Microphone: Shure SM7B or Earthworks ETHOS. The SM7B is an industry icon, used on legendary recordings and podcasts. The ETHOS is a modern broadcast condenser offering exceptional clarity and detail.
- Audio Interface/Mixer: RODECaster Duo. More than an interface, this is a complete production console with premium preamps, built-in sound pads, and simplified multi-person recording.
- Headphones: Audio-Technica ATH-M50x. A significant step up in comfort and audio accuracy, these are the monitoring headphones of choice for countless professionals.
While choosing your gear is a significant step, remember that even the world's best microphone requires a well-treated space and solid technique to shine.
Software and Recording Technique: Where the Real Magic Happens
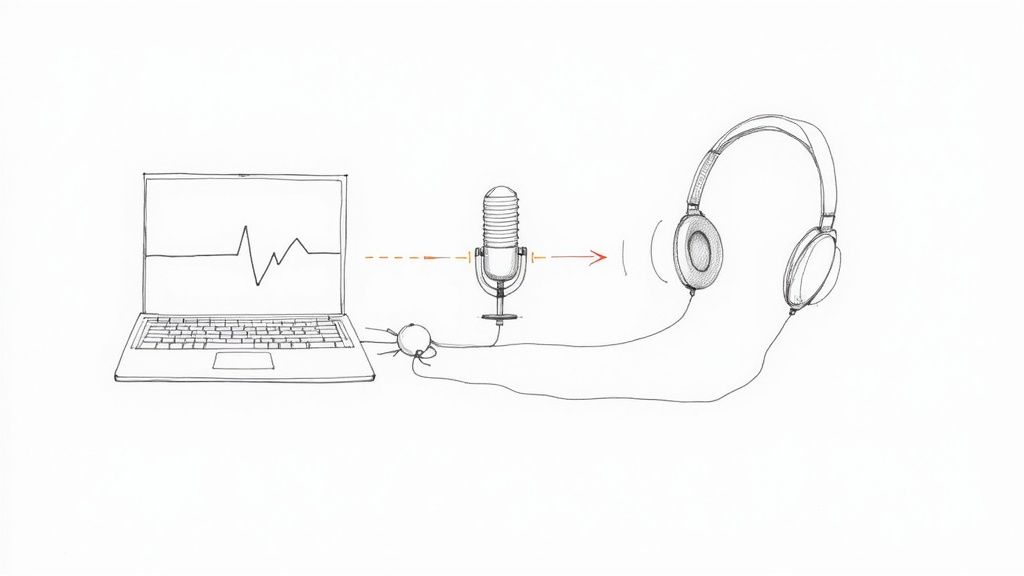
Professional gear is only part of the equation. The real distinction between amateur and professional content lies in execution—how you use your tools. The right software and, more importantly, solid recording technique are what transform equipment into a powerful content creation engine.
Think of your software as your virtual control room, where you capture, edit, and polish your audio. Fortunately, there are excellent options at every price point, from free, powerful tools to industry-standard platforms.
Picking Your Digital Audio Workstation
Your Digital Audio Workstation (DAW) is the command center for your podcast. The best choice is the one that feels most intuitive, so experiment with a few trials to find your fit.
-
Audacity: The undisputed champion of free software. It's open-source, surprisingly robust, and equipped with all the essential tools a new podcaster needs.
-
Adobe Audition: For those already in the Adobe Creative Cloud ecosystem, Audition is a seamless choice. This professional-grade DAW features a deep toolset, including legendary audio repair and noise reduction capabilities.
-
Riverside.fm: For remote interviews, a platform like this is non-negotiable. Instead of recording compressed internet audio, Riverside records each participant's audio and video locally on their own computer. This ensures you receive pristine, uncompressed files, unaffected by a guest's poor Wi-Fi.
Once you’ve selected your DAW, master your recording levels. Aim for your audio signal to consistently peak between -12dB and -6dB. This "sweet spot" provides a strong, clean signal with enough headroom to avoid digital distortion, or "clipping."
It’s Not the Mic, It’s How You Use It
Mastering your microphone technique is what separates seasoned pros from amateurs. Your microphone is an instrument; learning to "play" it well costs nothing but will elevate your sound quality more than any expensive upgrade.
Consistency is the foundation of good mic technique. Maintain a steady distance of 4-6 inches from the microphone. Moving back and forth creates distracting volume fluctuations for your listeners.
A pop filter is not a suggestion—it's a requirement. This simple mesh screen diffuses the burst of air from "p" and "b" sounds (plosives) that would otherwise create a jarring, explosive sound on the recording. It’s the best $15 you will ever spend.
You also need to understand the proximity effect: the closer you are to most podcasting mics, the more bass your voice will have. This creates that warm, rich "radio voice." However, getting too close can result in a muddy, boomy sound. Experiment to find the distance that adds richness without sacrificing clarity. For a deeper dive, explore our guide on advanced recording techniques to elevate your podcast sound quality.
Get Your Workflow in Order
Establish an organized workflow from day one. Create a simple folder structure for each episode—one for raw audio, another for project files, and a third for final exports.
Adopt a consistent file naming convention, such as Ep[Number]_[GuestName]_[Track]_[Date], to save time and prevent confusion.
This level of organization is critical as your show grows. It ensures you can always locate files, streamlining editing and making it easy to repurpose content. With 86.1% of people listening to podcasts on mobile devices for an average of 7 hours a week, your audio must be flawless to maintain engagement. (source)
By mastering your software, refining your mic technique, and building an efficient workflow, you'll be well-equipped to produce professional-sounding audio that captivates your audience.
When To Level Up From Your Home Studio
Your home podcast studio is an invaluable asset—it’s your creative sandbox, where you honed your voice and built your foundation. But for ambitious creators serious about growth, there comes a point when that same home setup begins to limit your potential.
These limitations aren’t failures; they’re milestones. They signal that your brand, audience, and vision have outgrown your current environment. Recognizing these growing pains is the first step toward strategic expansion. It’s about knowing when to leverage professional resources to achieve a level of quality and efficiency unattainable at home.
Your Video Quality Needs a Serious Glow-Up
Video is often the first major hurdle. A single webcam and a ring light are sufficient for starting, but in a media landscape dominated by YouTube and polished short-form content, it can signal an amateur production.
To compete effectively, you need more:
- Multiple Camera Angles: Create a dynamic, broadcast-style feel that captivates viewers.
- Pro Lighting: Move beyond flat, washed-out visuals with lighting that adds depth and a cinematic quality.
- A Branded Set: An intentional, professionally designed background reinforces your brand identity.
Attempting to replicate this at home often leads to frustration with cables, color temperatures, and technical complexity. This is a clear indicator that it's time for a turnkey studio solution.
Your Guests Deserve the Red Carpet Treatment
You’ve secured a high-profile guest—a game-changer for your show. The last thing you want is for their first impression to be a cluttered home office or a clunky remote recording link.
A professional studio communicates respect and seriousness. It provides a premium, comfortable environment where your guest can relax and deliver their best performance. It elevates the entire experience, positioning you as a peer.
The moment your guest list becomes a key growth strategy is the moment you must provide an experience that matches their caliber. A professional studio is an investment in that relationship.
You're Drowning in Post-Production
Are you spending more time editing than creating? As your podcast grows, so does the post-production workload. Syncing multiple audio and video sources, color grading, and mixing can become a significant drain on your time and creative energy.
This is DIY burnout—a major red flag.
Every hour spent on technical tasks is an hour not spent on high-value activities like creating content, booking guests, and engaging your audience. When post-production becomes a bottleneck, it’s time to delegate to a team of experts. If this sounds familiar, review these 5 signs you're ready to upgrade to a professional podcast studio in New Jersey.
Home Studio Limitations vs Flexwork Solutions
The leap from a home setup to a professional production can feel significant. This table breaks down common challenges and how a studio like Flexwork provides a direct, strategic solution.
| Challenge | Home Studio Limitation | Flexwork Studios Solution |
|---|---|---|
| Video Quality | Single, static camera angles and basic lighting lead to an amateur look. | Multi-camera, 4K setups with professional cinematic lighting and branded sets. |
| Audio Integrity | Background noise (pets, family, traffic) and untreated rooms create echo and poor sound. | Acoustically treated, soundproofed studios with high-end microphones and audio engineers. |
| Guest Experience | A makeshift space or confusing remote setup can feel unprofessional to high-profile guests. | A premium, comfortable studio environment that impresses guests and ensures a flawless recording. |
| Time & Workflow | Hours are lost to setup, troubleshooting, and a tedious post-production process. | A "show up and record" experience where our producers handle all technical aspects and editing. |
| Content Scalability | It's nearly impossible to efficiently create a high volume of quality content (reels, photos, etc.). | "Content Day" packages designed to batch-record months of polished assets in a single session. |
The transition to a professional studio is about more than better gear; it's about reclaiming your time, elevating your brand, and removing the technical barriers to growth.
How We Bridge That Gap at Flexwork Studios
This is precisely why Flexwork Studios exists. We are your strategic partner for when you're ready to transition from a home project to a professional media brand.
For podcasters seeking flawless audio and video without the operational headache, our "Be My Podcast Producer" package is the solution. You simply walk in and create; our professional crew handles everything else, from the multi-camera shoot in our acoustically treated studios to the final polished edit.
For creators aiming to dominate their content strategy, our Content Day sessions are the ultimate accelerator. For $3000/day, you can produce months' worth of high-impact content in a single, efficient session. This package includes 20 professionally edited reels or 60 pro photos, providing a vast library of assets to fuel your marketing and audience growth. It’s a strategic trade: your time and stress for world-class quality and massive output.
Your Top Home Studio Questions, Answered
Setting up a home podcasting studio is an exciting journey, but it often comes with a host of questions. Let's address some of the most common ones with clear, actionable answers to help you record with confidence.
What’s the Bare Minimum I Need to Start?
You can achieve surprisingly good audio quality without a significant initial investment. The essentials are simpler than you think.
To begin, you only need three core items: a solid USB microphone, a pair of wired headphones, and a pop filter. A microphone like the Audio-Technica AT2020+ or the versatile Samson Q2U connects directly to your computer for a streamlined setup.
Wired headphones are non-negotiable. Bluetooth introduces a slight delay (latency) that makes monitoring your own voice distracting. The pop filter is a small but crucial accessory that prevents harsh "p" and "b" sounds from distorting your audio.
However, your most important "gear" is a quiet room with plenty of soft surfaces to absorb sound—even a walk-in closet can work wonders.
How Do I Stop My Room from Sounding Like a Cave?
That hollow, echoey sound is the enemy of clean audio, caused by your voice reflecting off hard surfaces like walls and desks. The solution is absorption.
You don’t need a large budget to tame reverb. Get creative with what you already have:
- Hang heavy blankets or duvets on the walls, especially the one you're facing.
- Place large pillows or cushions in the corners of the room to break up low-frequency buildup.
- Record near a filled bookshelf; the varied shapes of the books act as natural sound diffusers.
If you have a modest budget, investing in a few acoustic foam panels for your primary reflection points (the walls in front of and behind you) will provide the most significant and immediate improvement.
When Is It Time to Upgrade from a USB to an XLR Mic?
Transitioning from a USB microphone to an XLR microphone and an audio interface is the most significant technical step up for a podcaster. It marks the shift from hobbyist to serious creator.
You should make the switch when your ambition for audio quality exceeds the limitations of your USB setup. An XLR system provides a noticeably cleaner, richer, and more detailed signal due to the dedicated preamps in an audio interface. It's the right move when you begin hosting in-person guests (most interfaces offer multiple inputs) or when you can clearly identify your USB mic as the weakest link in your production chain.
The upgrade to XLR is about more than just the microphone; it's about gaining greater control, flexibility, and a professional polish that signals a serious commitment to your craft.
Can I Actually Shoot Professional-Looking Video at Home?
While you can certainly record a decent single-camera video at home, achieving a polished, multi-camera, broadcast-quality look is a far more complex and costly endeavor.
Truly professional video requires controlled three-point lighting, dynamic camera angles, and an intentionally designed set—all of which are extremely difficult to replicate in a typical home environment. The investment in professional video gear, the space required, and the technical expertise needed make it an impractical pursuit for most creators. This is often the clearest sign that it's time to partner with a professional studio.
At Flexwork Studios, we are built to bridge this exact gap. When your brand is ready for video that looks as polished as your audio sounds—a quality a home setup simply cannot produce—our production packages provide the solution. From multi-camera shoots in our acoustically treated studios to our highly efficient Content Day sessions, we offer the space, the gear, and the expert team to elevate your content to the next level.
Explore our services and book your session today. Let's create something exceptional together.