The Best Podcast Equipment for Beginners: A Pro-Level Guide
Launching a podcast is an ambitious move. You have a message to share, an audience to build, and a brand to establish. But before you can captivate listeners, you're faced with a critical first step: choosing the right equipment. The world of microphones, interfaces, and software can feel overwhelming, quickly turning your creative momentum into tech-induced paralysis. Many promising creators get stuck here, believing professional sound is out of reach without a massive budget.
The truth is, achieving broadcast-quality audio isn't about owning the most expensive gear—it’s about making smart, strategic choices. For entrepreneurs and creatives serious about their brand, this means bypassing the cheap gadgets that lead to DIY burnout and investing in a setup that reflects your professional standards. At Flexwork Studios, we believe your voice should command attention from day one, whether you’re recording at home or in one of our state-of-the-art New Jersey studios. This guide will show you how to build a starter kit that delivers premium results without the complexity.
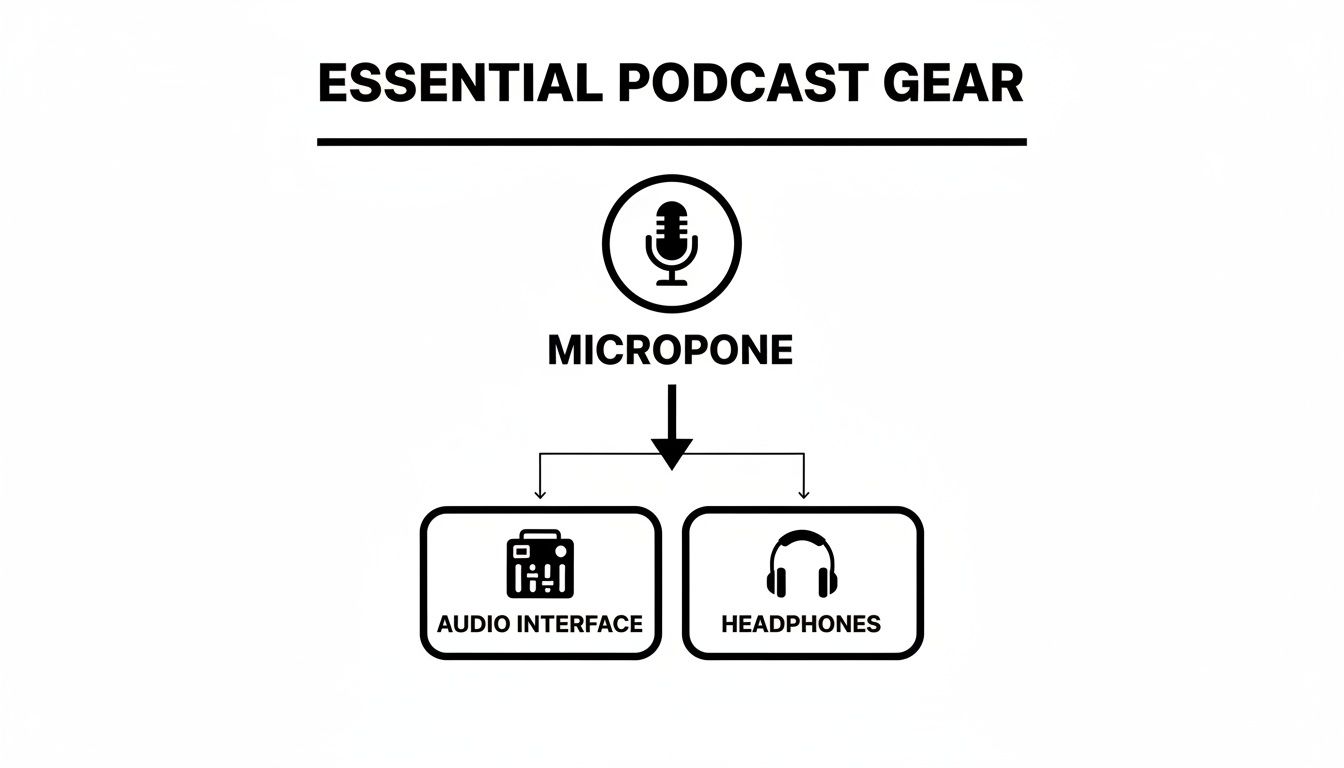
Your Essential Podcast Starter Kit
In a market projected to reach nearly 585 million listeners by 2025, your audio quality is non-negotiable. It’s the first impression you make, and studies consistently show that poor sound—tinny, muffled, or full of background noise—is the top reason new listeners abandon a show within the first minute. For the modern creative, inconsistent quality isn't just a technical issue; it's a brand liability. It signals to your audience that you’re not invested in delivering a premium experience, undermining your authority before you’ve even shared your core message.
This is where so many podcasters face "DIY burnout." They spend countless hours researching gear, troubleshooting technical glitches, and battling poor room acoustics, only to end up with audio that sounds amateurish. This frustration is a significant drain on your most valuable resource: the time and energy you should be dedicating to creating compelling content and growing your business.
The solution isn’t to become a part-time audio engineer. It’s to adopt a professional workflow from the start. This guide outlines the essential equipment, but for those ready to bypass the learning curve entirely, Flexwork Studios offers a premier alternative. Our Be My Podcast Producer package provides access to our acoustically treated studios and world-class equipment, all managed by expert engineers. Your only job is to show up and deliver your best performance.
Choosing Your First Professional Microphone
The microphone is the heart of your podcast setup. As the first link in the chain connecting your voice to your listener, its quality dictates the ceiling of your entire production. The good news is that securing a professional sound doesn't require a five-figure budget. For new podcasters, the journey begins with understanding two key microphone types: USB and XLR.
A USB microphone is an all-in-one solution that connects directly to your computer, making it ideal for solo creators seeking simplicity. An XLR microphone, the professional standard, requires a separate piece of hardware called an audio interface. While this adds a component to your setup, an XLR system delivers superior sound quality and offers a clear upgrade path as your podcast evolves.
Dynamic vs. Condenser Mics
Beyond connectivity, microphones differ in how they capture sound. The two primary categories are dynamic and condenser.
A condenser mic is highly sensitive, designed to capture every nuance in a perfectly sound-treated environment. For a beginner recording in a home office or spare room, this sensitivity is a liability. It will pick up every unwanted sound—the hum of your air conditioner, the echo from bare walls, or traffic outside—creating an editing nightmare.
This is why a dynamic microphone is the superior choice for most beginners. Dynamic mics are engineered to capture what’s directly in front of them while rejecting off-axis noise. This natural sound isolation is a game-changer in imperfect recording spaces, delivering a clean, focused vocal track that sounds professional right out of the box.
Pro-Tip: Choosing a dynamic mic is the closest thing to a "cheat code" for beginners. It solves your biggest audio problem—crappy room noise—before it even starts, helping you sound professional right out of the gate.
Smart Budgeting for Your First Mic
Your microphone and audio interface represent the most critical investment in your starter kit, typically accounting for 40-60% of your hardware budget. If you have a budget of around $300, allocating 40-70% to a quality microphone and headphones is a strategic move that directly impacts your final product.
Here are three industry-leading microphones that deliver exceptional value for beginners:
- Samson Q2U (USB/XLR): A legendary hybrid, this dynamic mic features both USB and XLR outputs. You can start with a simple plug-and-play setup and transition to an audio interface later without needing a new microphone. It’s designed to grow with you.
- RØDE PodMic (XLR): For those ready to commit to an XLR setup, the PodMic is a powerhouse. This dynamic microphone is purpose-built for vocals, delivering that rich, warm broadcast sound. Its robust construction also looks sharp on video.
- Shure MV7 (USB/XLR): Inspired by the iconic Shure SM7B, the MV7 is another brilliant hybrid. It combines USB and XLR connectivity with intelligent technology that isolates your voice, making it a powerful tool for achieving clean audio in less-than-ideal environments.
For a more comprehensive look, our guide on choosing the best microphone for podcast recording breaks down everything you need to know.
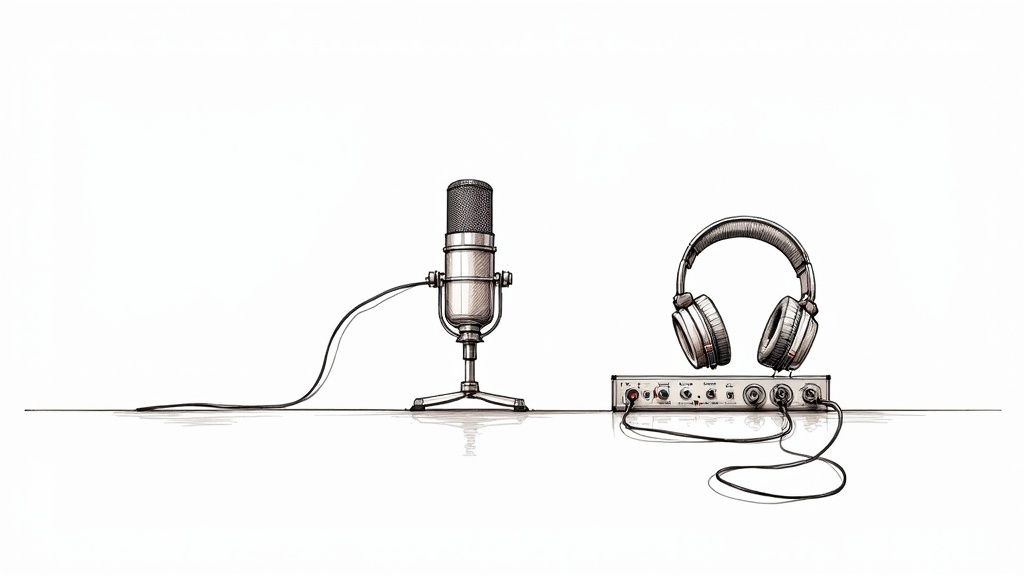
The Role of an Audio Interface
If your XLR microphone is the star performer, the audio interface is the expert sound engineer. This essential device acts as the bridge between your professional microphone and your computer, converting the analog audio signal into a digital format. It also houses a crucial component called a preamp, which cleanly boosts the microphone’s quiet signal to a strong, usable level without introducing unwanted hiss or noise. This is the secret to achieving crisp, broadcast-quality sound.
For a solo host or a show with one guest, a simple one- or two-channel interface is all you need.
Key Features to Look For
Understanding a few key terms will help you select the right interface for your current needs and future ambitions.
- Phantom Power: Many professional condenser microphones require a small amount of power to operate. An interface with a "+48V" or "phantom power" button delivers this power through the XLR cable.
- Direct Monitoring: This feature allows you to hear your own voice in your headphones in real-time, with zero delay (latency). It’s essential for speaking naturally and confidently during recording.
- Gain Knobs: These are the volume controls for each microphone input. Quality gain knobs allow you to set the perfect recording level smoothly and precisely.
An audio interface does so much more than just plug things in. It gives you command over your sound. It’s what separates a recording that sounds like a fun hobby from one that sounds like a legitimate show.
When Do You Need a Mixer Instead?
While an interface is perfect for one or two hosts, a mixer is necessary when you plan to record with three or more people in the same room. A mixer, like the industry-standard RØDECaster Pro, is an audio interface on steroids. It can manage multiple microphones and often includes advanced features like sound pads for triggering music and effects, making it ideal for complex, multi-person productions.
Mastering this equipment is a significant step. Our guide on how advanced recording techniques can elevate your podcast sound quality can help you achieve that final layer of professional polish.
Headphones and Accessories That Make a Difference
What you hear while recording is as crucial as the words you speak. Monitoring your audio with a quality pair of headphones is the only way to catch distracting background noise before it ruins a great take. This is why professionals use closed-back headphones, which create a seal around your ears to prevent the audio from leaking out and being picked up by your microphone—a rookie mistake known as "bleed."
Why Wired Headphones Are a Must
In podcasting, a wired connection is non-negotiable. Wireless headphones introduce a slight delay known as latency, which can be disorienting and disrupt your natural speaking rhythm. A wired pair plugged directly into your interface or microphone provides zero-latency monitoring, allowing you to hear yourself in real-time.
The Audio-Technica ATH-M20x headphones are an industry staple for a reason. They offer clear, accurate sound reproduction and excellent isolation at an accessible price point.
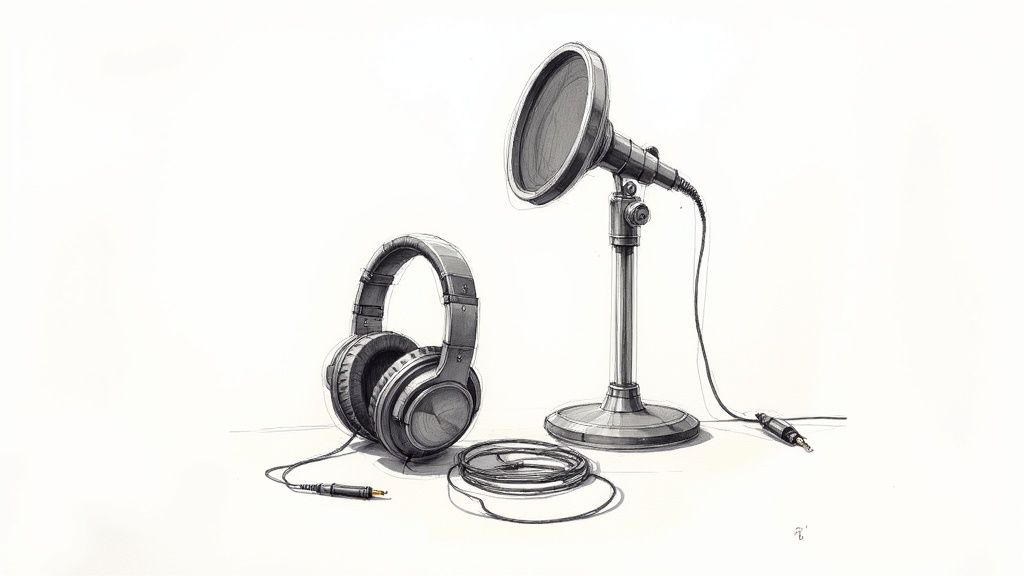
Essential Accessories That Complete Your Setup
A few small, strategic accessories will elevate your setup from amateur to professional.
-
A Sturdy Microphone Stand or Boom Arm: Never hand-hold your microphone. A stand or desk-mounted boom arm ensures a consistent distance between you and the mic, which is key to maintaining stable audio levels. A boom arm also isolates the mic from desk vibrations.
-
A Pop Filter or Windscreen: The harsh "P" and "B" sounds in speech are called plosives. A pop filter is a simple screen that diffuses the burst of air from your mouth, resulting in smoother, more professional-sounding audio.
-
Quality Cables: A cheap cable can introduce hum, static, and interference into your recordings. Investing in well-made XLR or USB cables is a small price to pay for a clean, reliable signal.
Ready for Your Close-Up? Taking Your Podcast to Video
In today’s visual-first digital landscape, an audio-only podcast leaves a massive audience on the table. Video is the engine of discovery on platforms like YouTube, Instagram, and TikTok, allowing you to create shareable clips that introduce your brand to new audiences. Adding a visual component transforms your podcast from a simple audio show into a dynamic media brand.
From Your Phone to a Pro Camera
Your smartphone is a powerful video tool capable of shooting in 4K. Mounted on a simple tripod, it’s the perfect way to start producing video content without any additional investment. When you’re ready to upgrade, a dedicated mirrorless camera like the Sony ZV-E10 offers a significant leap in quality, enabling interchangeable lenses, superior low-light performance, and the cinematic blurred-background effect known as "bokeh."
A polished video presence signals authority and professionalism. It tells your audience that you are serious about your content and invested in delivering a premium experience, which is a critical step in building a loyal community.
The Magic of Three-Point Lighting
The secret to professional-looking video is not the camera—it’s the lighting. The industry-standard three-point lighting technique uses three light sources to sculpt your subject and create a dynamic, engaging shot.
- Key Light: The main, brightest light, placed slightly to one side.
- Fill Light: A softer light placed on the opposite side to fill in shadows.
- Back Light: Placed behind you to create separation from the background and add depth.
Mastering this setup is a game-changer. Of course, for guaranteed broadcast-quality results without the hassle, booking time at a professional video podcast studio gives you access to perfectly calibrated lighting and camera setups.
Don't Forget Your Background
Your background is a part of your brand story. A cluttered or distracting set undermines your message. Be intentional with your environment. A clean, minimalist wall, a curated bookshelf, or a custom backdrop can all reinforce your brand identity. Your set tells a story—make sure it’s the right one.
Tired of the DIY Grind? There’s a Better Way to Podcast
Let’s be honest. Assembling a home studio is a significant drain on your two most valuable assets: time and focus. For any serious entrepreneur or creative, every hour spent untangling cables, fighting software, or fixing poor audio is an hour not spent creating content or growing your brand. This is DIY burnout, and it sidelines too many great podcasts before they have a chance to succeed.
At Flexwork Studios, we offer a strategic alternative. Instead of battling echoes in your spare bedroom, you can walk into a purpose-built, acoustically perfect studio and record on world-class equipment from your very first session. It’s not just about convenience—it’s about protecting your momentum and ensuring your brand sounds as polished and professional as you are.
The Hidden Price Tag of a Home Studio
The upfront cost of a microphone is just the beginning. The global market for podcasting hardware is already a $3.7 billion industry in 2024, and the constant release of new gear makes it a minefield for beginners. A decent mid-range setup can easily cost $500-$5,000+ before accounting for cameras, lighting, and acoustic treatment.
But the real cost is the opportunity cost. Do you want to be a part-time audio engineer or a full-time creator?
Choosing a professional studio isn't giving up; it's a strategic move. You're trading the frustration of DIY for the momentum of professional production. It’s a direct investment in your brand’s quality and, frankly, your own sanity.
Your All-Access Pass to Pro Production
We designed Flexwork Studios as the ultimate launchpad for podcasters who mean business. We offer a suite of services designed to eliminate the technical burden and accelerate your growth.
- Content Days: For $3000/day, you can capture a wealth of high-end content in our studios, including 20 professionally edited reels or 60 pro photos—perfect for building a powerful social media presence.
- Be My Podcast Producer: This package is your all-in-one production solution. We handle everything from mic setup to multi-camera video, allowing you to focus solely on being a brilliant host.
- Market, Manage & Produce My Podcast: Our most comprehensive offering. Starting at $1500 per episode (with a 20-episode commitment), we manage your show's entire lifecycle, from flawless recording and post-production to strategic marketing designed to grow your audience.
DIY Setup vs Flexwork Studios Production Packages
Still weighing your options? This table clarifies the true value of investing in professional production.
| Factor | DIY Home Setup | Flexwork Studios Packages |
|---|---|---|
| Upfront Cost | $500 – $5,000+ for decent gear | $0 (All-inclusive in package) |
| Sound Quality | Variable; dependent on gear & room acoustics | Pristine, broadcast-quality audio guaranteed |
| Technical Expertise | All on you. Get ready for YouTube tutorials! | Provided by a team of professional engineers |
| Time Investment | Significant; setup, troubleshooting, editing | Minimal; show up, record, and leave |
| Video Production | Complex & expensive to do well | Flawless multi-camera 4K video handled for you |
| Room for Growth | Limited by your budget and space | Unlimited. Access to the best gear instantly. |
| Post-Production | Hours of editing, mixing, and mastering | Handled by our expert production team |
At Flexwork Studios, you’re not just renting a room—you’re partnering with a production team as invested in your podcast’s success as you are. For a deeper look at the benefits, explore our breakdown of a professional studio vs. a DIY setup.
Got Questions About Podcast Gear? We’ve Got Answers.
Stepping into the world of podcast equipment can feel like learning a new language. To cut through the noise, we've compiled clear, concise answers to the most common questions we hear from ambitious new podcasters.
What's the Bare-Bones Minimum I Need to Start?
To start recording, you need three things: a quality microphone, wired headphones, and recording software. A great USB microphone like the Samson Q2U provides an excellent all-in-one starting point. Wired headphones are crucial for monitoring your audio in real-time to catch any issues during recording. This streamlined setup is more than capable of producing professional-sounding audio.
Should I Go With a USB or an XLR Mic?
This decision depends on your goals for simplicity versus long-term flexibility.
-
A USB microphone offers plug-and-play convenience, connecting directly to your computer. It's the ideal choice for solo hosts who want a straightforward workflow.
-
An XLR microphone is the industry standard, connecting via an audio interface. This setup delivers superior sound quality and greater adaptability as your show grows.
For the best of both worlds, a hybrid microphone like the Shure MV7 features both USB and XLR outputs, allowing your gear to evolve with your podcast.
Why Do People Say Dynamic Mics Are Better for Beginners?
While condenser mics are excellent at capturing detailed sound in a treated studio, they are often unforgiving in a typical home environment, picking up every echo and background noise. A dynamic microphone, by contrast, is designed to isolate your voice and reject ambient sound. This makes it the ideal choice for recording in an untreated space, delivering a clean, focused vocal track with minimal effort.
Choosing the right gear is about building a system that lets you focus on what matters most—your content. Simplicity and reliability will always trump expensive complexity, especially when you are just starting your podcasting journey.
Do I Actually Need an Audio Interface?
An audio interface is only required if you are using an XLR microphone. It serves as the translator between your mic and computer, converting the analog signal to digital and providing a clean volume boost (gain). If you opt for a USB microphone, you will not need a separate audio interface.
Instead of spending weeks drowning in gear reviews and tech tutorials, you could be creating your next great episode. At Flexwork Studios, we eliminate the technical barriers, providing the equipment, expertise, and environment you need to produce a world-class show.
Explore our studio rental and production packages today and discover how simple it is to sound like a professional from episode one.